A DIY scratch-and-sniff bookmark is a perfect project for anyone who is both a bookworm and a big fan of eating sweets in their leisure time.
Sure enough, while scratch-and-sniff bookmarks may sound like something too complicated to be worth your time, they’re quite simple to make!
That’s the purpose of this article – to show you how easy it is to create your own scratch-and-sniff bookmarks at home.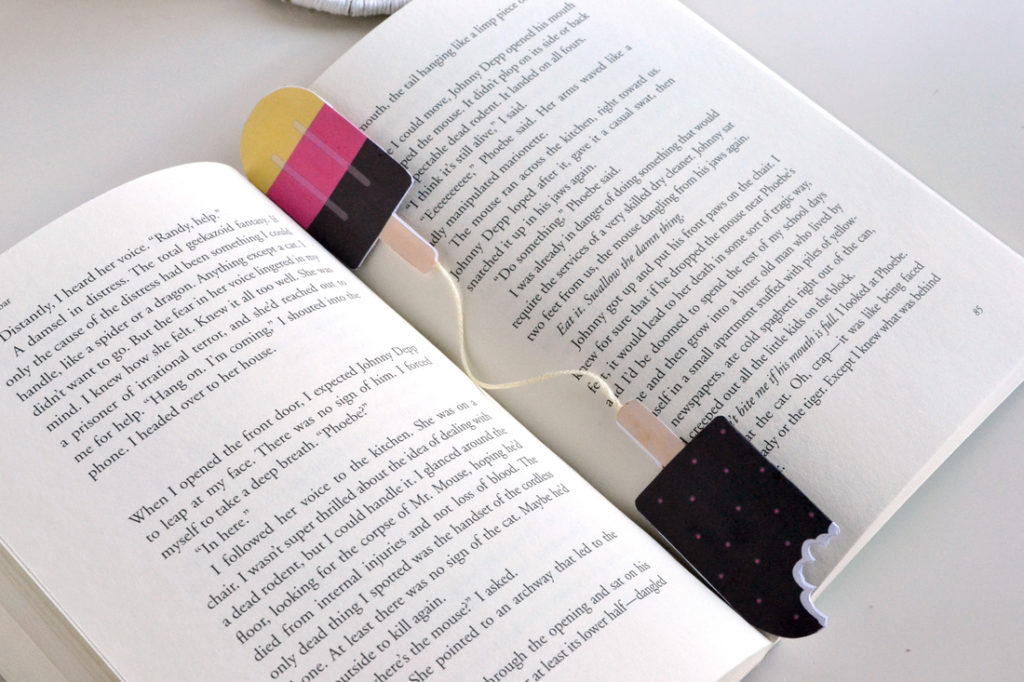
You can make these bookmarks for yourself, or you can gift them to your kids, or your friends’ kids, to get them excited about reading, too.
Supplies for a DIY scratch-and-sniff bookmark
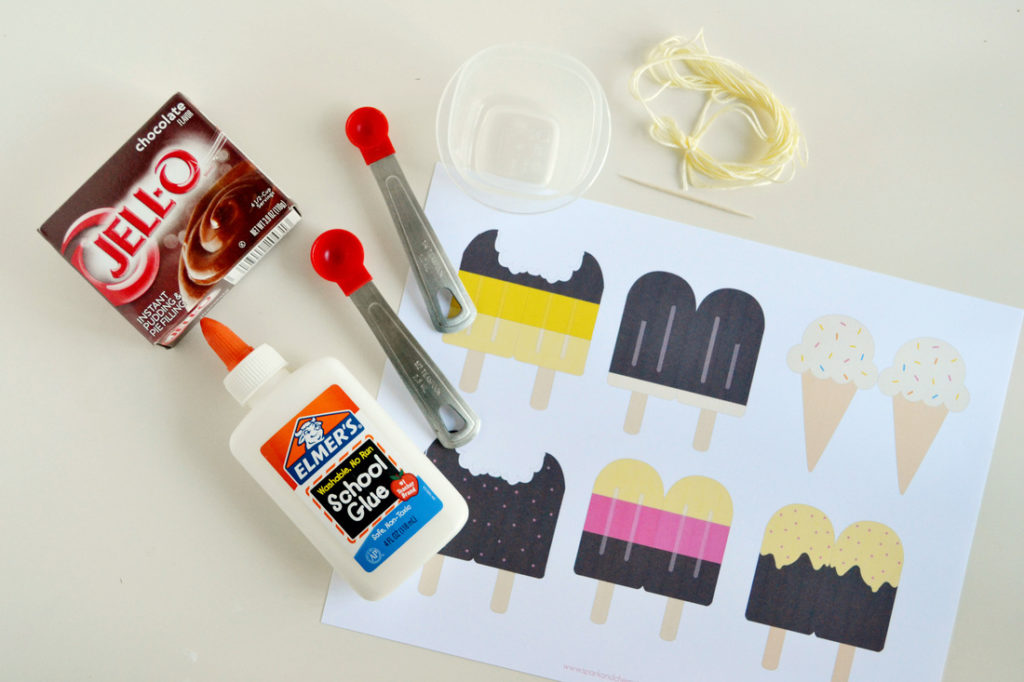
Below you’ll find a list of materials you’ll need to make your scratch-and-sniff bookmark. Additionally, we’ll briefly explain the purpose of each of these supplies.
- Sweet treats printable template (which you can download here): We created a downloadable PDF template that includes five different designs. While you’re free to use whatever designs you want, we recommend that you use templates that match the smell you eventually want your bookmark to have.
- Printable cardstock: You’ll need the cardstock to print out the templates. Make sure to use heavier paper so that the bookmark will be sturdy. Also, ensure that the cardstock is resistant to moisture since you’ll apply water and liquid glue onto it later.
- Various flavored dessert powders: Instead of perfuming the cardstock, we used actual dessert powders to create scented bookmarks. For example, you can use flavored instant pudding, kool-aid, gelatin, or cake mix. However, because of these ingredients, we recommend that you don’t include your kids in this activity unless supervised.
- Liquid craft glue: You’ll need liquid craft glue for two reasons: to glue the cardstock and to act as a binder for the powder. For this guide, you’ll want to use odorless glue, so it doesn’t interfere with the smell of the flavored dessert powders.
- Measuring scoop (1/2 teaspoon & 1/4 teaspoon): You’ll need to use these measuring scoops for the flavored powders, water, and liquid craft glue to get the right quantities.
- Twine: You’ll need the twine to attach two scratch-and-sniff bookmark templates. This way, your DIY bookmark will be perfect even when used on larger books.
- Water: Regular liquid craft glue is too thick to act as a binder on its own, so you’ll need a bit of water to thin it out.
- A bowl and a spoon: You’ll need a bowl and spoon to mix the liquid craft glue, dessert powder, and water.
How do I make a simple DIY scratch-and-sniff bookmark?
The next section will guide you through the process of making your scratch-and-sniff bookmark step-by-step.
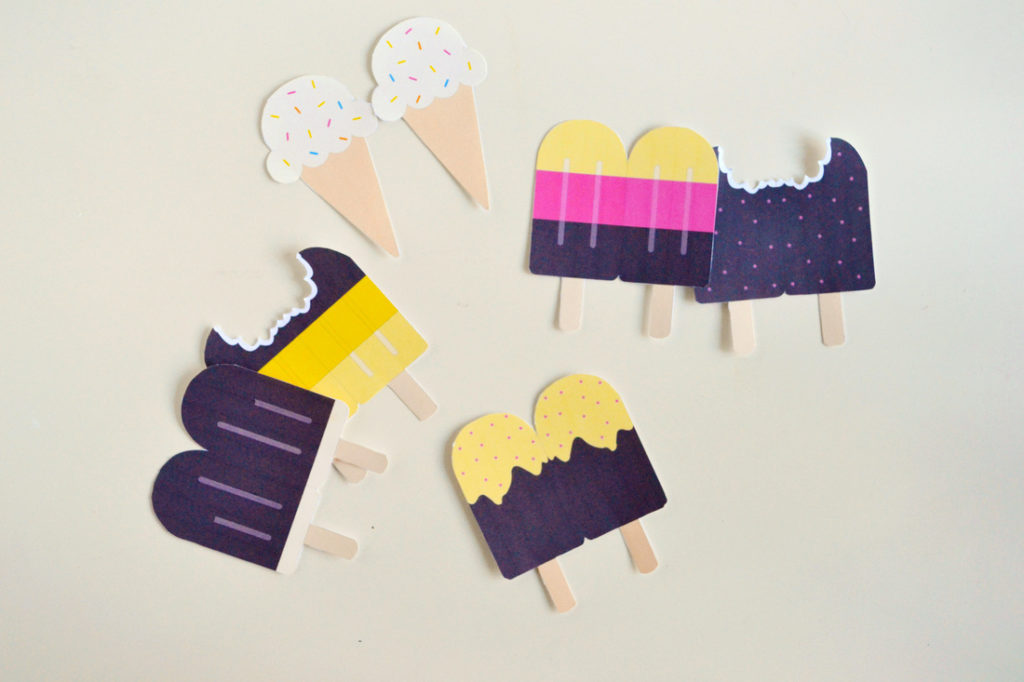
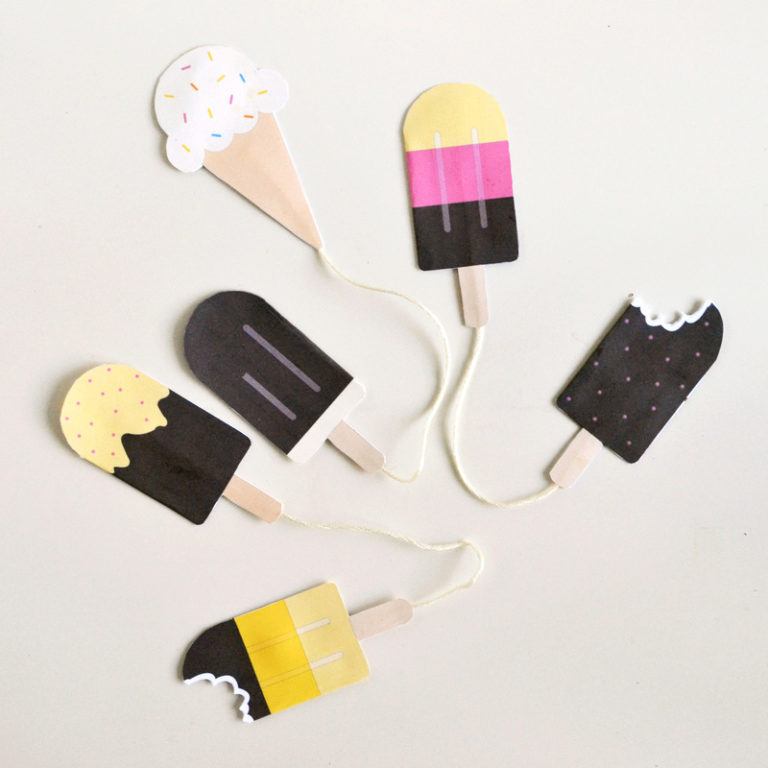
- Create the cardstock desserts: Start by printing and then cutting out the dessert templates we’ve provided on cardstock. Each template will look like a dessert that mirrors itself; this will come in handy when you fold them in half later.
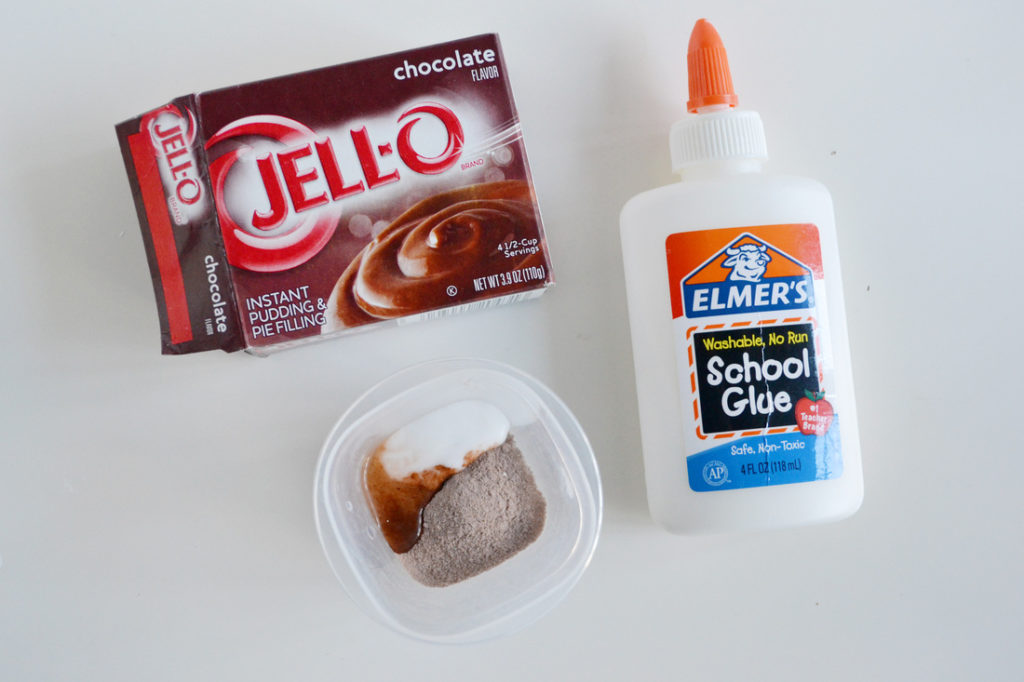
- Make the scented mix: In a bowl, mix two 1/2 teaspoons of flavored dessert powder, 1/4 teaspoon of water, and 1/2 teaspoon of glue. Stir everything until you obtain a thick and homogeneous paste.
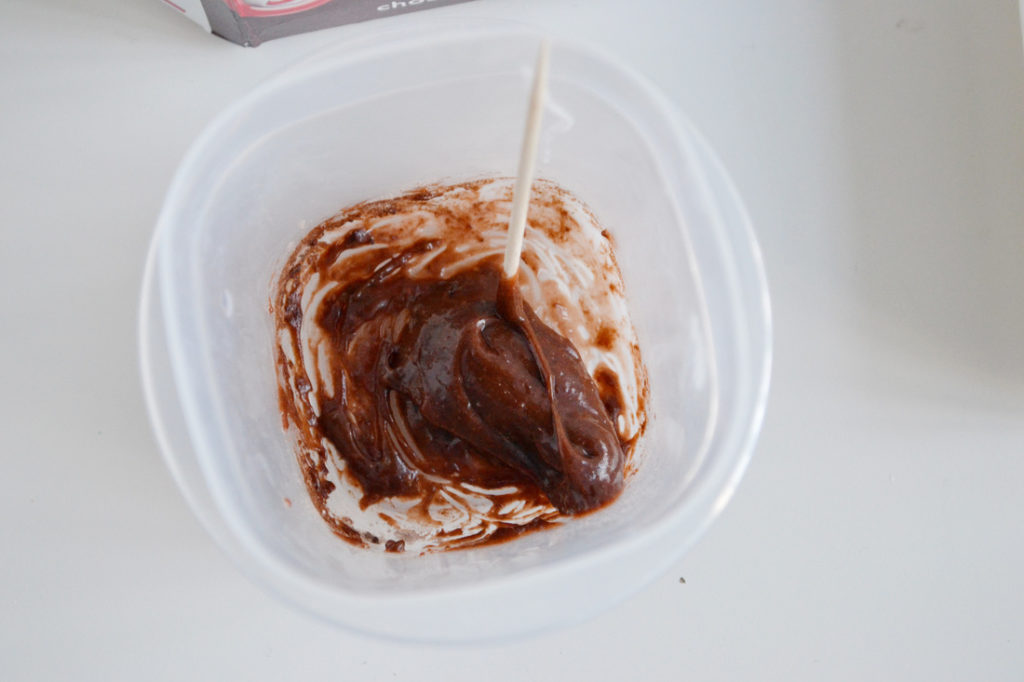
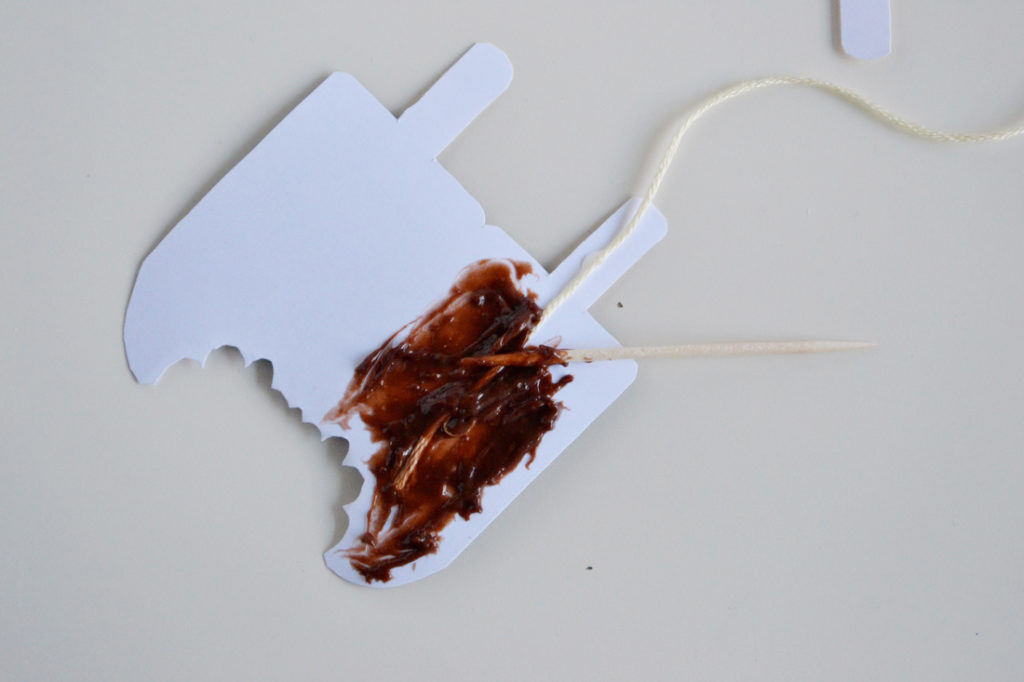
- Scent the cardstock: Using a spoon, apply the scented paste onto half the unprinted side of each template. Make sure to spread it out evenly and to use enough so that the scent will be strong but not overwhelming. However, don’t apply too much paste; it will ooze out from the sides when you fold the template in half.
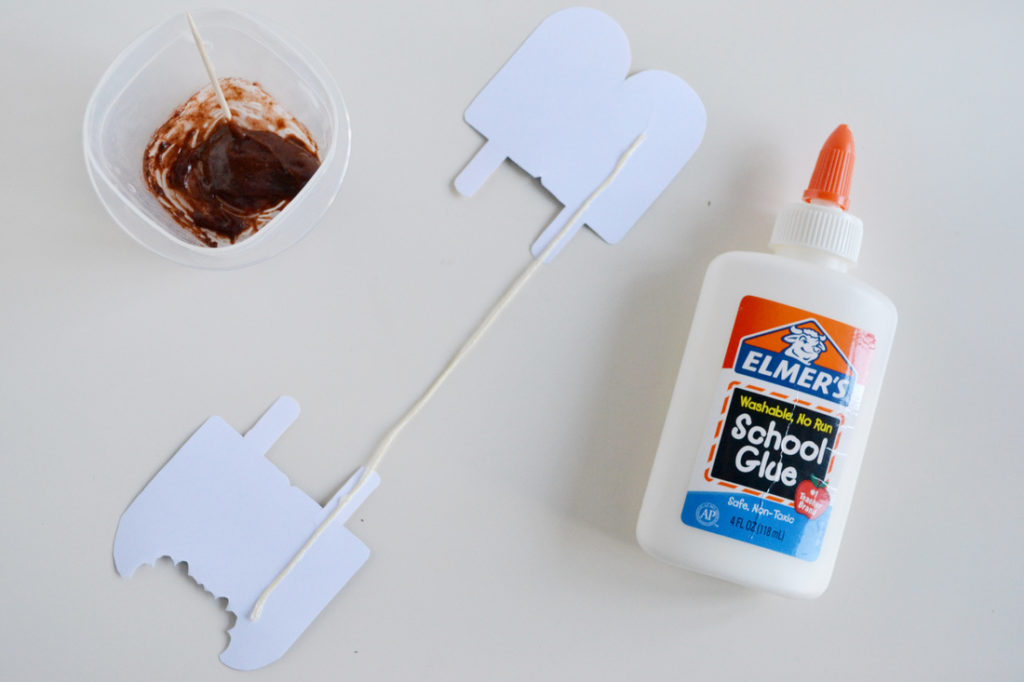
- Add the twine: Before folding the cardstock templates, stick each end of a piece of twine on the glued side of two different templates. This way, when you fold the template in half, the twine will also be glued down. Finish by folding the cardstock templates so that the glued sides touch each other. Enjoy your new bookmark!
How can I Improve the design of my scratch-and-sniff bookmarks?
Our original design for these scratch-and-sniff bookmarks was pretty basic. If you want to get creative, there are a few things that you can do to jazz up your bookmark.
- Use different scents: Some people may not like s smelling food-related scents while reading. If this is the case for you, feel free to experiment with other types of smell, such as floral scents.
- Use different scenting methods: Working with food powders can get messy, and you may even attract ants or other insects, so feel free to experiment with other methods of scenting your bookmark. For example, you could try using essential oils or even your favorite perfume.
- Use different-shaped templates: If you change the smell of the scratch-and-sniff bookmark, you might also change the design of the templates. For example, if you use floral scents, you could use flower-shaped templates.
- Use materials that support scent reapplications: Reapplying scents over and over can damage the cardstock, so it’s best to use materials that can take a beating. For example, you could use extra-thin plywood sheets that you hand-painted on.
Closing Thoughts
We hope you enjoyed this guide on how to make your DIY scratch-and-sniff bookmarks.
It’s just one of many DIY bookmark designs you can try, and we think it’s a great way to add some personality to your reading experience. If you want more ideas on making your bookmarks, check out our list of the best DIY bookmark ideas.
If you have any questions or suggestions, please feel free to leave us a comment down below. We would love to hear from you!
The post How to Craft a DIY Scratch-and-Sniff Bookmark in 4 Easy Steps appeared first on DIYs.com.

