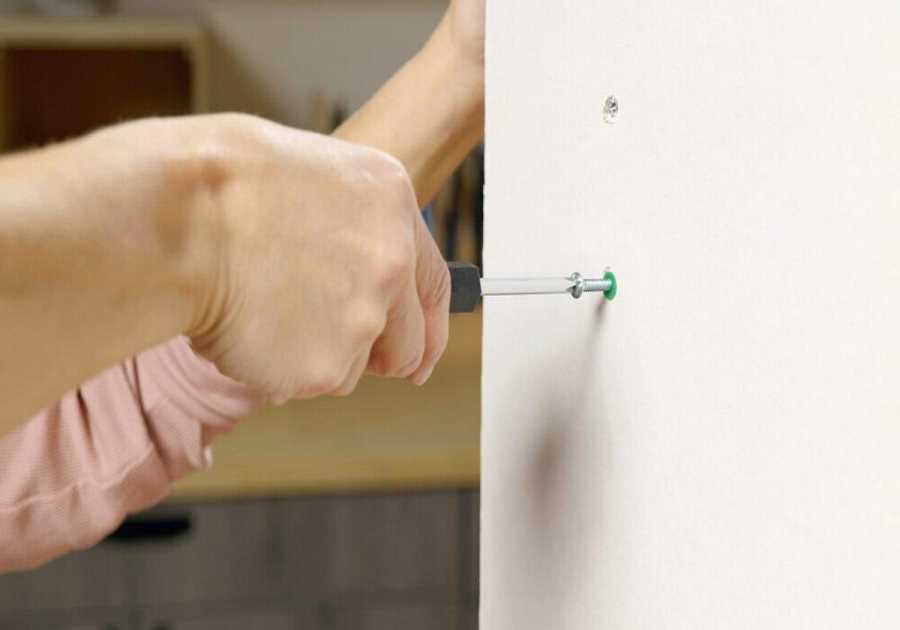
Drywall revolutionized residential home building in the 1940s and 50s. Gypsum panels provided simple, affordable wall coverings that went up far faster than traditional lath and plaster. This reduced labor and material costs, which led to lower home prices. Millions of post-war home buyers loved the solid, durable surface drywall provided.
But there’s one area where drywall does not excel: Fastener retention.
Dry, crumbly gypsum doesn’t provide enough stable material for a fastener to latch on to. If you put a nail or screw in drywall. it won’t support more than a few pounds of weight, and it’s simple to pull it straight out.
A lone fastener might be secure enough to hold a wall calendar. But what if you want to hang something heavier, or something valuable? You can nail through the drywall and into a wall stud. But if your family heirloom doesn’t line up conveniently with a stud, you need a better answer.
Enter the drywall anchor.
What are Drywall Anchors?
Any time you set a fastener like a nail or screw into a material that doesn’t hold tight, you use an anchor to hold it in place. That’s why materials such as drywall, brick and concrete need anchors.
Drywall anchors (sometimes simply called wall anchors) come in many designs that all work on the same principle: They hold the fastener steady, then distribute pressure to the back and sides of the drywall, spreading its weight-load across a wider area. The same concept applies to laying down on thin ice. Distributing the weight over a wider area makes it less likely to break through.
German inventor Artur Fischer patented the drywall anchor as we know it in 1958. Fischer’s expanding nylon plug was the first of many designs that allow DIYers to hang almost anything from their walls.
Types of Drywall Anchors
Many types of drywall anchors are available for home use, each with different weight ratings.
Expansion anchors
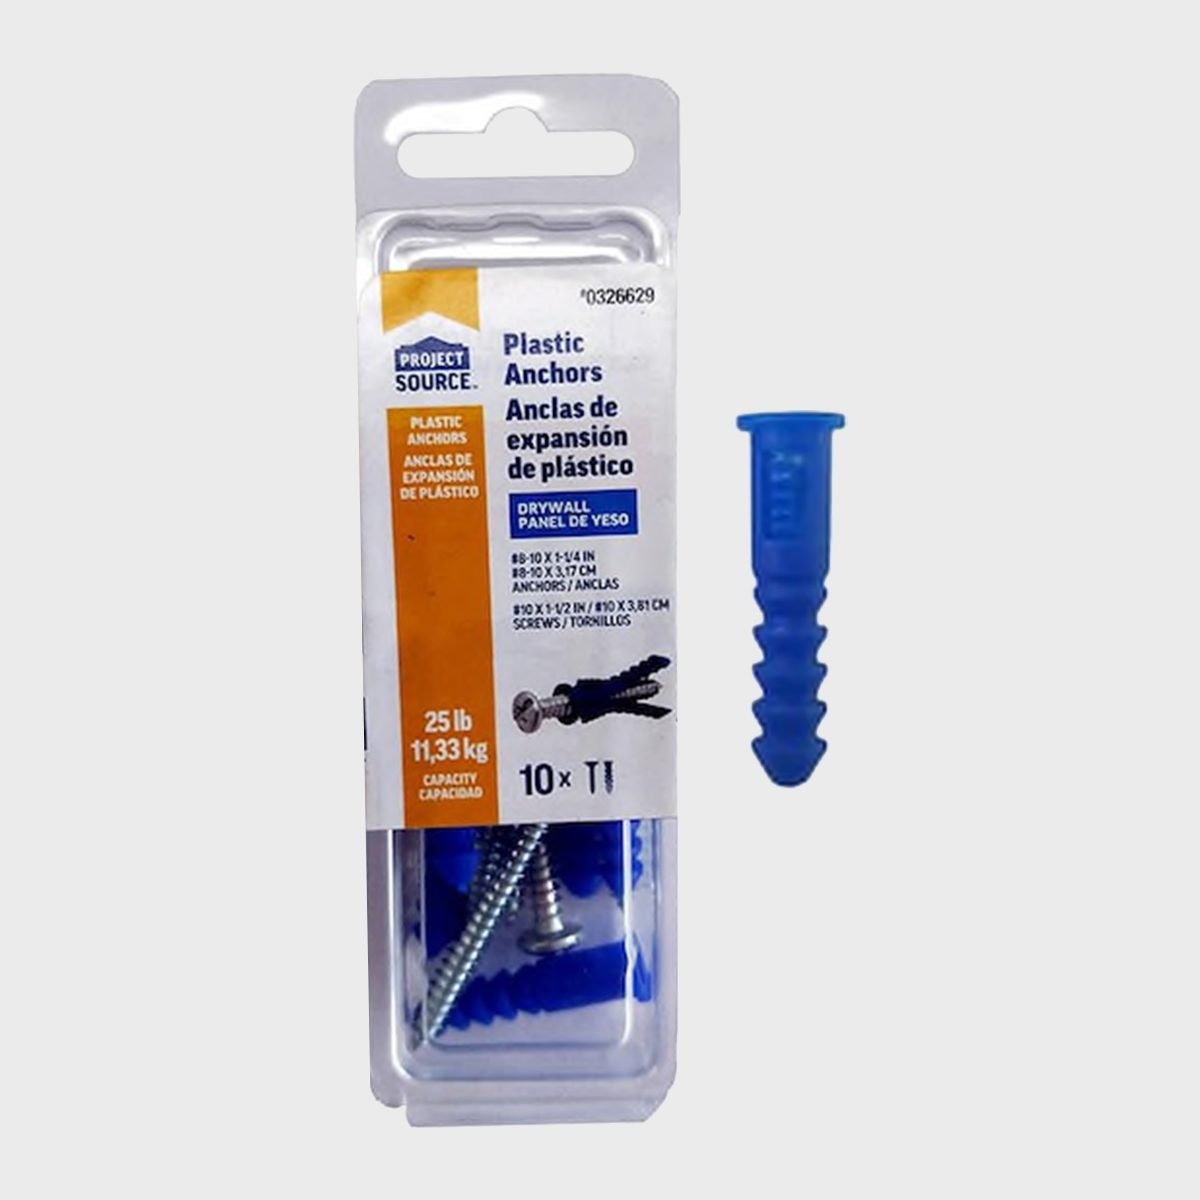
This is what most homeowners think of when they picture a drywall anchor, the kind that ships free with most towel rods and toilet paper hangers.
Essentially thin plastic sleeves, these anchors sit in the drywall hole and expand slightly when you drive a screw into them, adding pressure against the side of the hole and holding firm. Extremely affordable, they also have a lower holding weight than other anchors.
This 10-pack from Lowe’s private brand Project Source is rated for 25 lb. hanging capacity.
Toggle-bolts
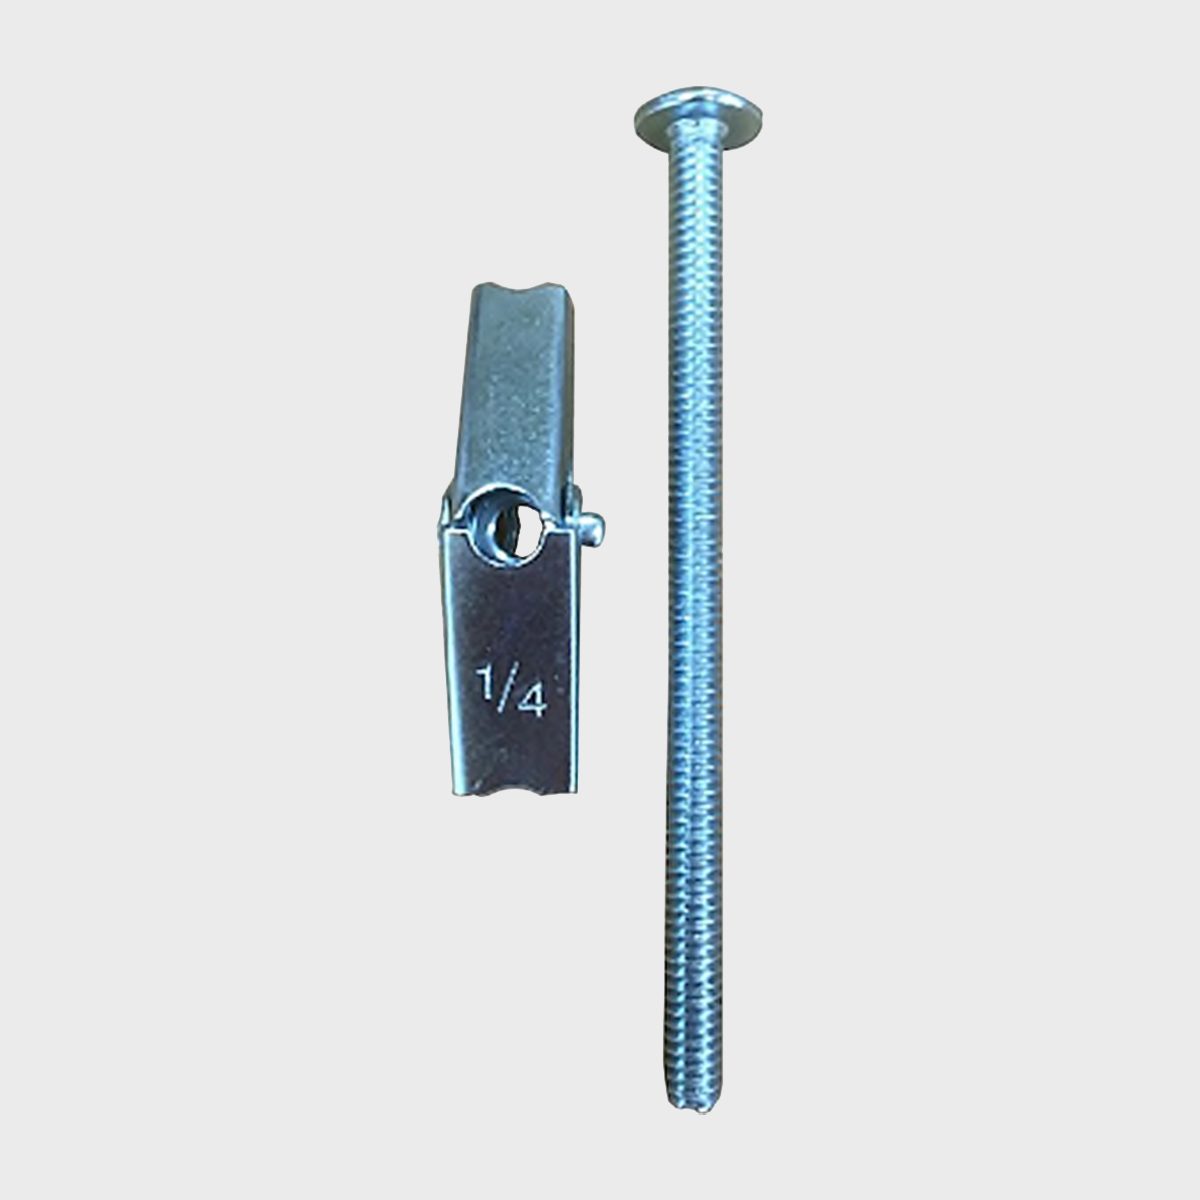
These anchors come as long bolts driven through a threaded toggle. The toggle folds in half, then uses a spring to pop open after being inserted into the wall, distributing its weight behind the drywall.
Toggle-bolts require a larger hole than most anchors due to the size of the spring-loaded section. Removing the bolt means the toggle is lost behind the wall.
A good example is this set from Blue Hawk, which requires a three-quarter inch hole drilled in the drywall. It’s rated for 70 lb. hanging capacity.
Pull-toggle anchors
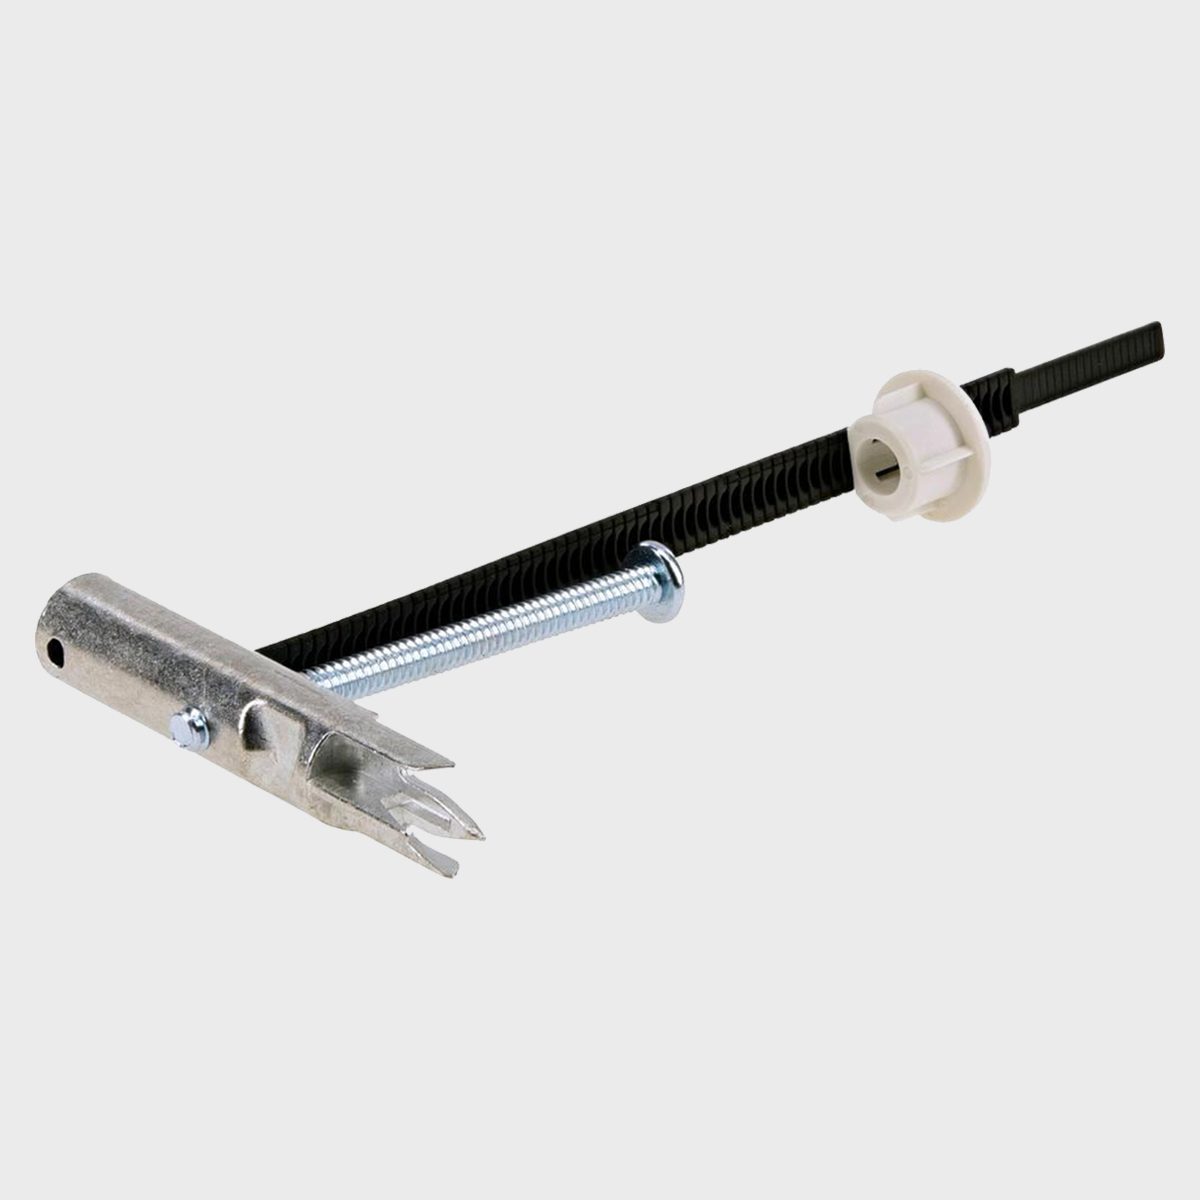
A relatively new entry in the drywall anchor market, these combine toggle-bolts and plastic anchors. The metal toggle is inserted into the wall just like a toggle-bolt. But instead of the metal bolt securing it in place, a plastic strap (similar to a zip-tie) pulls the toggle tight to the wall, connecting it to a threaded plastic retainer.
This installation method allows a single-piece toggle, giving a stronger hold and requiring a smaller entry hole. That provides the strength of a toggle bolt with the reusability of a plastic anchor.
This Hillman pull-toggle only requires a one-half inch entry, and can hold 120 lbs.
Metal anchors (Molly bolts)
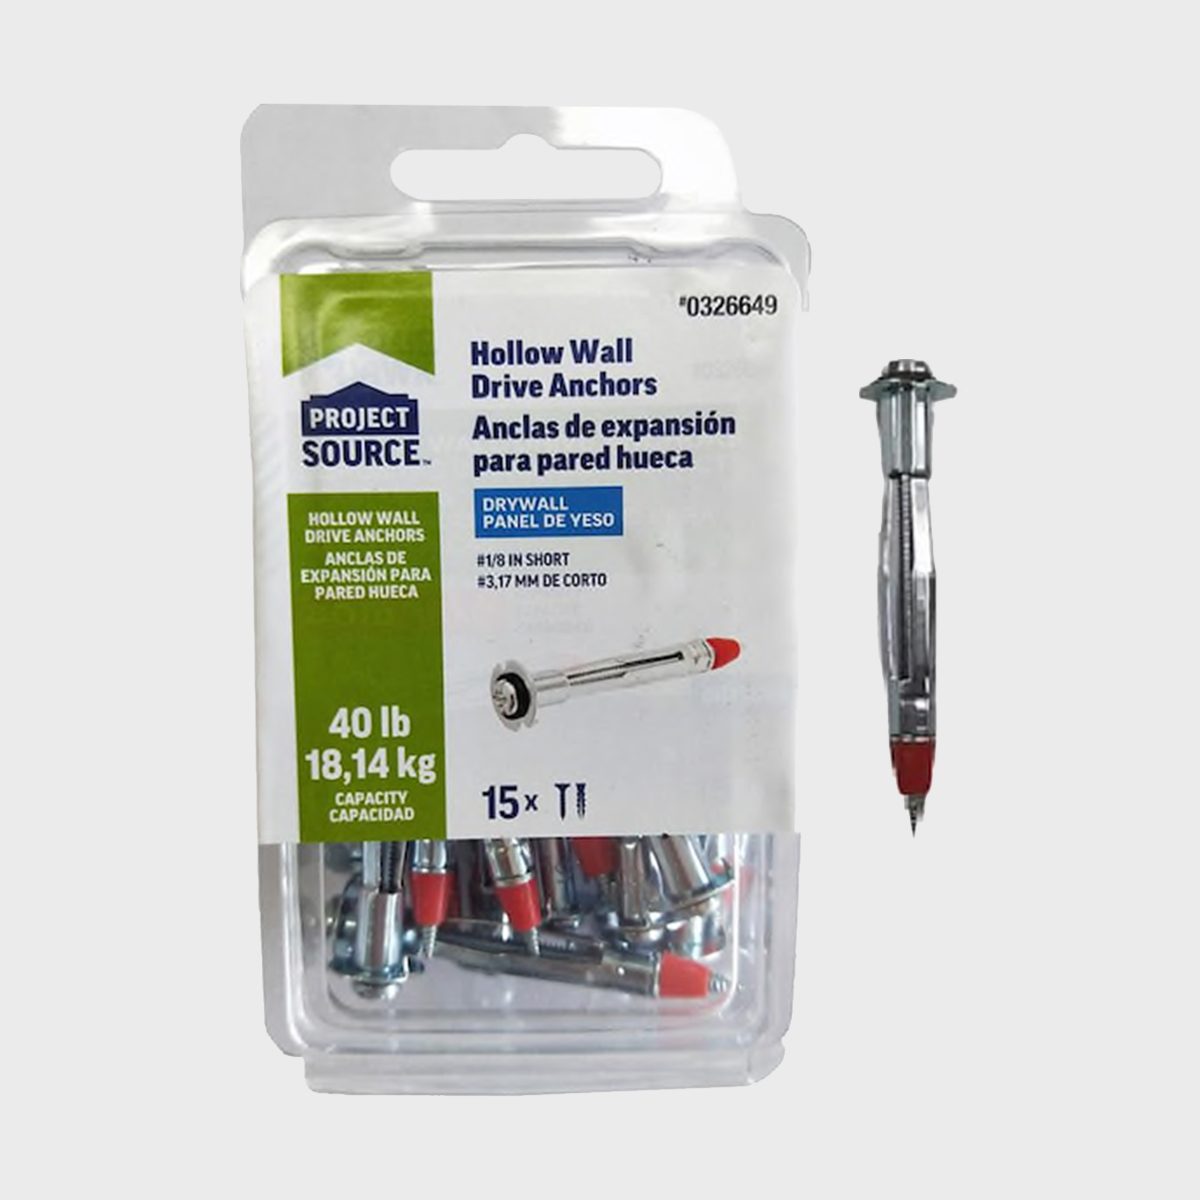
Molly bolts have been around for almost a century. They resemble metal versions of expansion anchors. But instead of pressing against the sides of the entry hole, they actually flare the anchor barrel, creating a wider hold pattern behind the wall.
“Molly Bolt” was originally a brand name, but it now commonly refers to any metal drywall anchors of this style, such as these anchors from Blue Hawk. These are light-duty anchors designed to hold about 20 lbs. Larger, more robust Molly bolts can hold heavier loads.
Self-drilling anchors
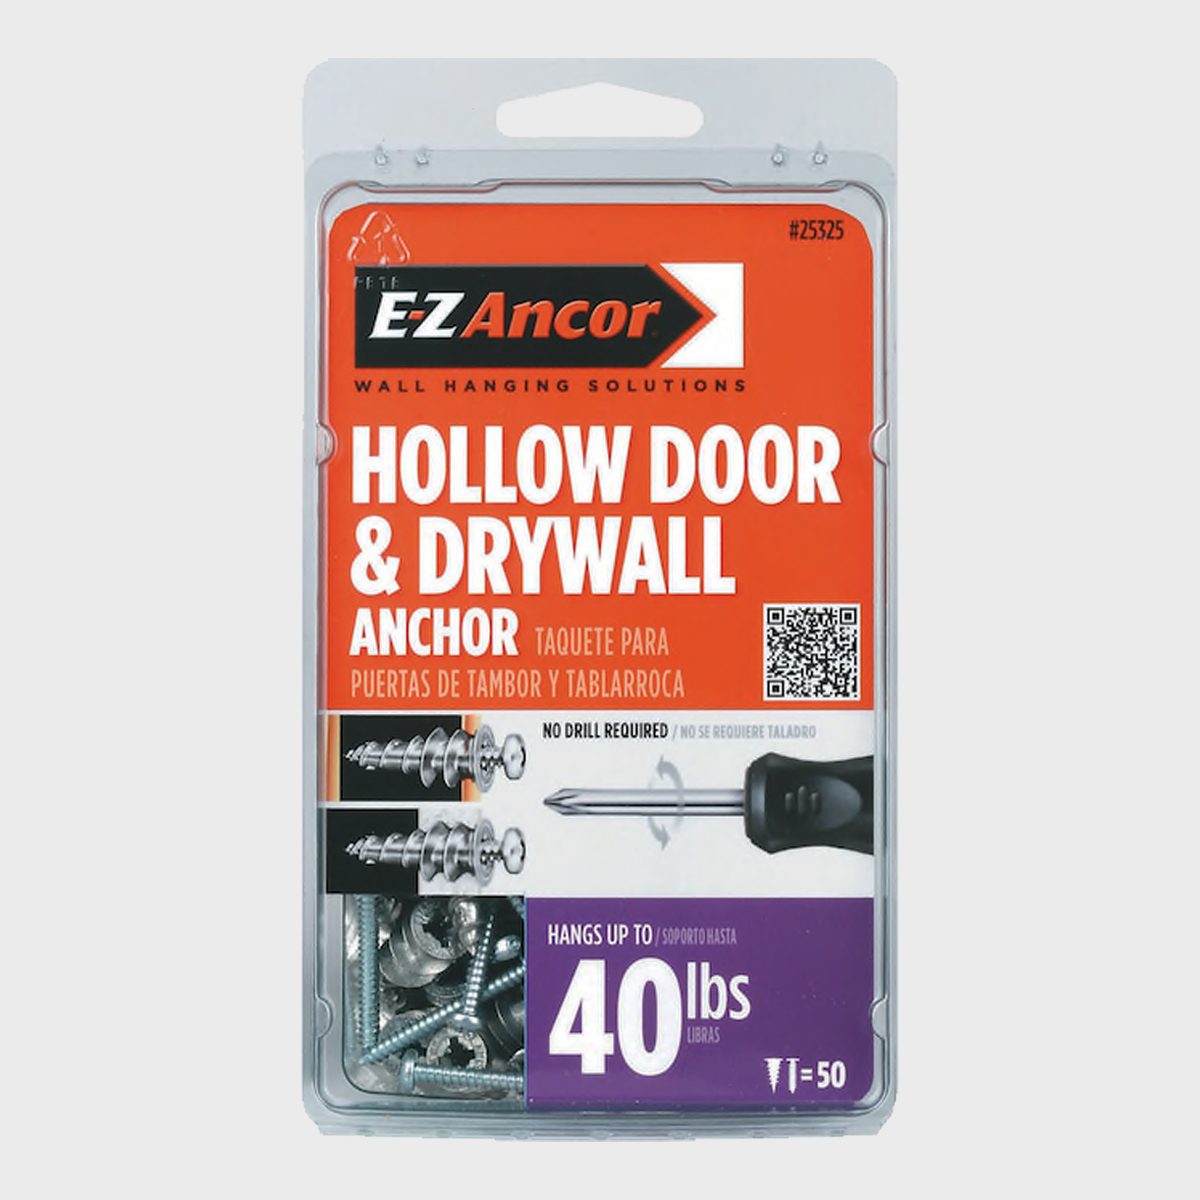
Self-drilling anchors are just like they sound: An anchor with a drill tip, designed to be installed with a simple screwdriver. Behind the drill tip, these anchors have wide screw fins to get a good grip on the drywall.
They’re available in plastic or metal. Plastic is less expensive, while steel or zinc anchors can sit tight in a stud as well as a hollow wall. Both types are extremely easy to install and remove. They do make a bigger hole than slim expansion anchors, and don’t have the holding power of toggle bolts.
A good example is this 50-pack from E-Z Anchor, with a three-eighths inch diameter and a 40 lb. holding capacity.
Read the Packaging
The weight restrictions listed on drywall anchor packaging will be based on a certain wall thickness. If you’re not sure, assume your walls are one-half-inch thick. Most importantly, do not use any drywall anchor in a ceiling unless it’s specifically rated for that application.
Anchors mounted into a wall can use the bottom lip of the hole for support, while ceiling mounts rely solely on their distributed weight. So expansion anchors have almost no holding power in a ceiling.
Pull-toggles are often rated for ceiling applications, but read the packaging carefully. While most walls are covered with one-half-inch drywall, many residential ceilings use one-quarter-inch drywall, which has a lower load tolerance. Be sure to err on the side of caution when hanging anything from the ceiling.
How To Use Drywall Anchors
Installing a drywall anchor is relatively easy.
- Drill the hole. For self-drilling anchors, use a screwdriver. For other types use a drill bit of the size recommended on the packaging.
- Set the anchor. Depending on the type, this may mean screwing it flush (self-drilling), pulling the toggle tight (pull-toggle) or tapping it lightly with a hammer (expansion anchor).
- Set the screw/fastener. With the anchor set in the wall, you’re ready to place your fastener. Note that toggle-bolt anchors need to be assembled through the item you’re hanging before the anchor is set.
Drywall Anchors Purchasing and Cost
Drywall anchors are available from many retailers. Costs vary. Here are some of the most common places to find them.
- Online. You should be able to find whatever you need.
- Cost: Mid-range. You may pay a premium for a small pack. Skip the shipping costs by ordering online and picking up at a local store.
- Local hardware store. Neighborhood hardware stores normally have a wide selection of dependable anchors.
- Cost: Affordable. Most hardware stores can buy enough fasteners and anchors to get bulk pricing, and are competitive with any other retail source.
- Big box stores. National chains like Lowe’s and The Home Depot offer a wide selection of drywall anchors, and even sell assorted kits that let you keep multiple sizes and styles on hand. These kits are a great addition to your DIY tools and materials collection, especially if you’re a new homeowner.
- Cost: Affordable. The big box stores offer amazing selection and prices for hardware, like drywall anchors.
- General household stores. Grocery stores and retail outlets that focus on home goods and supplies will often carry a limited range of drywall anchors.
- Cost: High. But they’re a great place to grab some simple anchors while getting your other shopping done.
- Included with fixtures. Many items, from towel racks to television mounts, come with multiple screws and anchors. The manufacturers want you to mount their goods whether you’re hanging it on drywall, into a stud or on a brick wall. You won’t use them all, so rather than throw away the extras, add them to your anchor collection. Eventually you’ll have enough for any job. You’ll be surprised how often you’ll delve into this collection.
- Cost: Free!
Did you miss our previous article...
https://rsssuperfeeds.com/life-hacks/ten-woodworking-joints-that-you-must-know


