If your ceiling drywall is sagging between joists, sometimes called “pillowing,” it’s probably on the top floor and attached to the roof trusses. If so, there’s a good chance the installers used 1/2-in.drywall instead of 5/8 inch. Half-inch drywall can sag if it’s hung under roof trusses that are spaced every 24 inches. It isn’t strong enough to handle the span, and the weight of the insulation just makes the sagging worse.
You have two choices: Rip it out and replace the sagging section with 5/8-in.drywall, or add spacers andnew5/8-in.drywallbelow the sag.
Rip Out and Replace
Ripping out the old drywall is the most professional approach, but it’s a nightmare job. You have to pry out the ceiling drywall along the edges and pluck out all the old drywall screws. As if that weren’t enough fun, the attic insulation (and anything else stuffed into the rafters during construction) may collapse into the room.
Spacers and New Drywall

If you can live with a lower ceiling height, you can save a lot of time by installing a new ceiling below the old one. Here’s how:
- Add the 1-by furring strips (on 16-in. centers) shown in Figure A.
- Use 1x3s rather than 1x2s because it makes the drywall easier to hang. (But if your ceiling sags more than 3/4 inch, use 2x2s.)
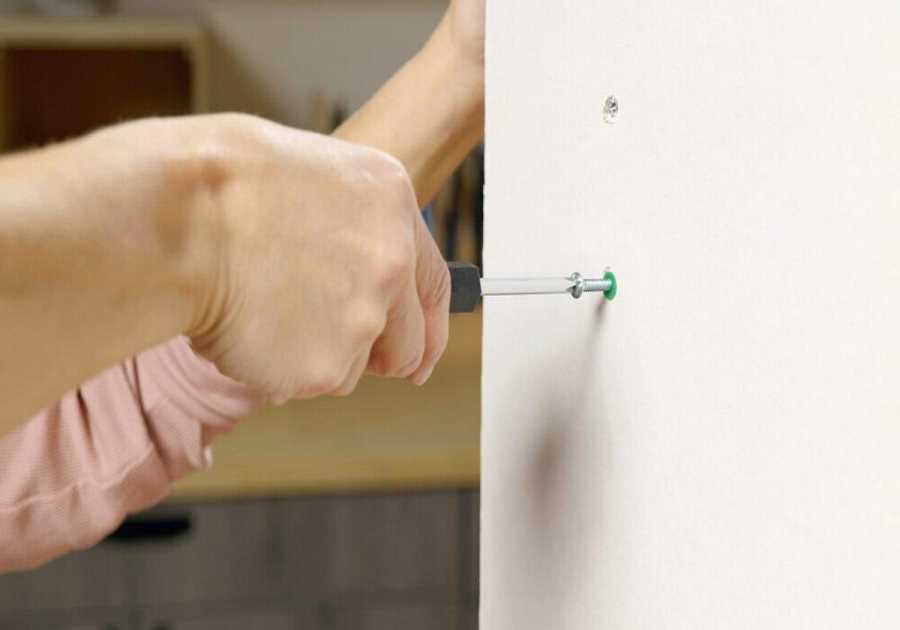
- Screw the 1x3s to the truss framing with 2-1/2-in.drywall screws spaced every 2 feet.
- Next, install and tape and finishnew5/8-in.drywall. If you have ceiling fixtures, you’ll have to extend all the boxes so they’re flush with the new ceiling.
When To Call a Pro
The sagged ceiling described here is one specific situation. A saggingceilingcould also be a sign ofmajorstructural damage and might indicate further problems like leaking pipes. If you notice discoloration or other signs of water damage in your sagged ceiling, call a pro before poking around at it yourself.
Did you miss our previous article...
https://rsssuperfeeds.com/life-hacks/how-to-test-for-radon-in-your-home


