Suppose you have four pieces of 1×2 lumber, two of one length and two of another, and you want to turn them into a picture frame. The simplest way to do it would be to spread glue on the ends of the two shorter pieces, press the sides of the longer pieces into the glue and hold the structure together with clamps until the glue sets. You’d be making butt joints, the simplest of all wood joints because they require no cutting and no tools or materials other than glue and clamps.
As you might suspect, these joints — dependent on the holding power of glue alone — are not very strong. Even if you use strong epoxy glue, there’s a good chance you could pull the joints apart, and even if you couldn’t, the glue bond would probably wear out over time, and the frame would fall apart.
To prevent this, you’d probably reinforce the joint with nails, screws, dowels or something similar. Depending on what you used, the joint would look more or less elegant, but it would hold together better.
What Is a Butt Joint?
Any time you butt two pieces of wood together at 90 or 180 degrees and secure them with glue, you’re making a butt joint. It’s simple to do, but it’s a weak joint, and you usually need fasteners to strengthen it. Other types of joints call for shaping or cutting the wood, which serves the double purposes of increasing the glue area and providing structural reinforcement at the joint. With a butt joint, you have minimal glue area, and fasteners have to supply the reinforcement.
Types of Butt Joints
When it comes to butt joints themselves, there isn’t a great variety. If you’re making a corner joint, you can butt two pieces of wood with square ends, or you can miter the ends at 45 degrees to make a better better-looking joint. Where there is a variety is in reinforcement methods, which include:
- Nails. Pound nails through the piece that overlaps the joint into the end of the other piece.
- Screws. Drive screws into the overlapping piece into the end of the other one.
- Pocket screws. Drive screws at an angle through the side of the piece of wood with the butt-end.
- Dowels. Drive holes through the overlapping piece into the end of the other one and tap in dowels (which are usually coated with glue). Or, drill holes inside the joint and install hidden dowels.
- Splines. Cut or rout grooves in the ends of boards or panels joined at 180 degrees and glue a length of wood (the spline) into the grooves. You can also use splines to reinforce a mitered corner joint by cutting a groove in the corner and gluing in a piece of hardwood.
- Biscuits. Cut smaller grooves with a special groove cutter and glue biscuits (oval-shaped hardwood splines) into the grooves.
- Metal brackets. Reinforce the joint with a metal bracket designed for the size of the wood you’re using and fasten it to the sides of the wood.
- Corrugate metal fasteners. When butting 1×3 or 1×4 boards laid flat, a common reinforcement method is to pound corrugated metal fasteners into the wood with a hammer.
Butt Joint Tools

The tools needed to make butt joints depend on the type of reinforcement you use, but you’ll almost always be using glue, so it’s a good idea to have bar clamps on hand to hold the joint together while the glue sets.
- When nailing, use a nail gun if you can. If you only have a hammer, you need a vise to hold the wood so it doesn’t separate when you pound.
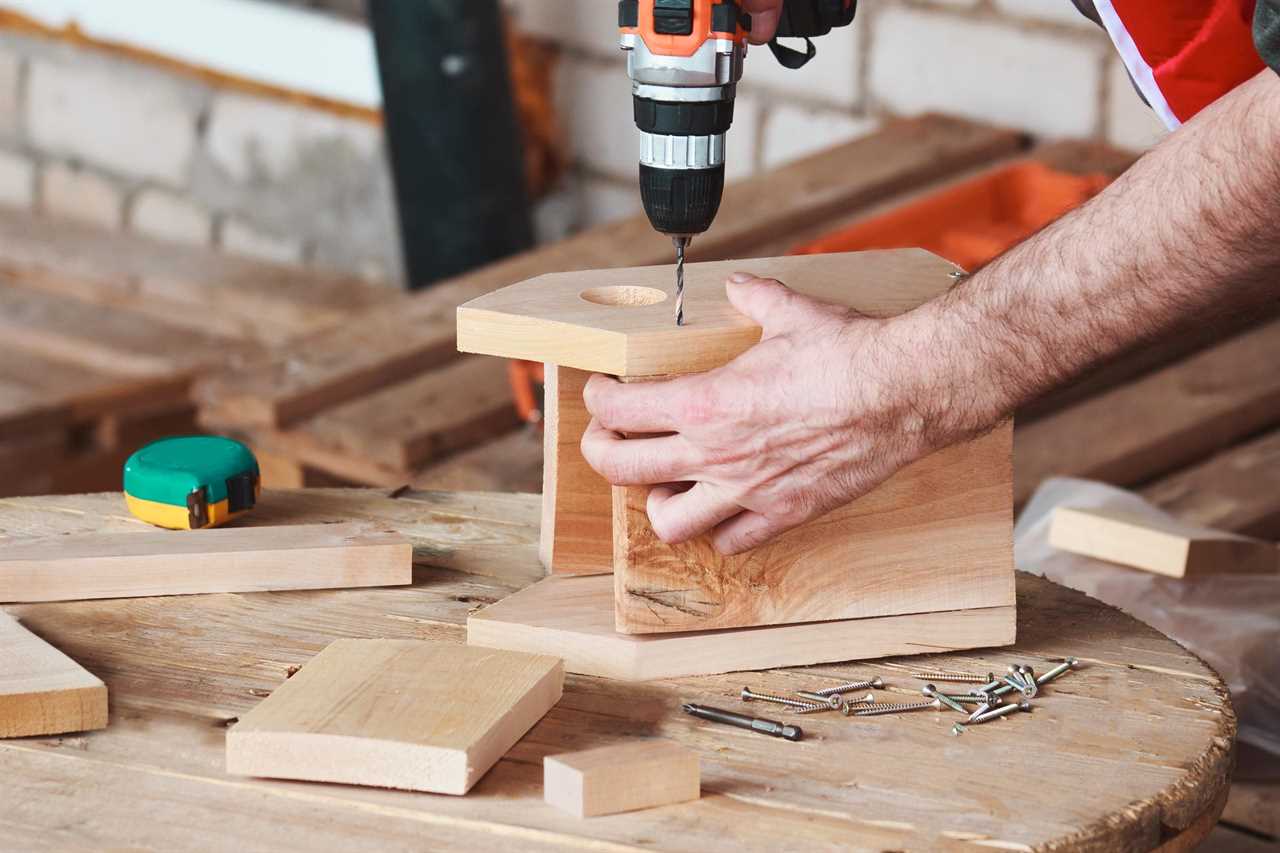
- Use a drill/driver to drive screws. It provides the torque you need to pull the joint together. It’s also good to have bits on hand to drill pilot holes.
- Drill holes at the proper angle for pocket screws with a pocket screw jig.
- Install dowels using a drill/driver and a drill bit with the same diameter as the dowels. You also need a wooden mallet to tap in the dowels, and if the dowels are hidden, you need a jig to make sure they are aligned.
- The best tool for cutting grooves for a spline is a router with a groove-cutting bit. Cut the splines on a table saw.
- A biscuit joiner is the tool you need for biscuits. The joiner and the biscuits come together as a kit.
- All you usually need to install corrugated metal fasteners is a hammer. If you use metal brackets, you’ll also need nails or a drill/driver and some screws.
Butt Joint Common Uses
Because butt joints are inherently weak, they are best used when making decorative items rather than ones that need to support weight or withstand stress. Some common uses include:
- Picture frames. Mitered butt joints reinforced with splines, nails or dowels make picture frames easy to assemble.
- Simple boxes. The easiest way to make a box is to butt joint the corners and reinforce them with screws or nails.
- Drawers. Inexpensive cabinets often have drawers made with nail-reinforced butt joints.
- Flat frames for tile or wood inlay. Boards are laid flat, butted at the corners and reinforced with dowels or corrugated fasteners.
- Large wood panels. Woodworkers can make large wood panels by butting smaller ones together.
Butt Joint Advantages and Disadvantages
A butt joint is the first type of joint a woodworker learns to make. And, butt joint have both pros and cons:
Advantages
- Easy to assemble. No complicated cutting is involved.
- Fast. You can make a butt joint in the time it takes to nail or screw the wood together.
- Relatively strong. Depending on the reinforcement, a butt joint is strong enough for most applications.
- Sometimes it’s the only way. When it comes to some operations, such as joining panels to make larger ones, the butt joint is pretty much the only option.
Disadvantages
- Not very elegant. The joint or the reinforcement is usually difficult to hide.
- Difficult to align. Butt joints have a way of slipping out of alignment when the glue is wet. If you’re using splines or hidden dowels, care must be taken to place them exactly or the joint could be offset.
- Not as strong as other joints. Although butt joints can be strong, they aren’t as strong as many other types of joints.
Did you miss our previous article...
https://rsssuperfeeds.com/life-hacks/we-tried-dysons-multitasking-purifier


