A ribbon bow seems easy to craft in theory, but as soon as you try making one yourself, you realize there’s a bit more to it than just taking a length of ribbon and tying it into a knot with extra-large loops. Read on to learn how to make a bow out of ribbon the right way.
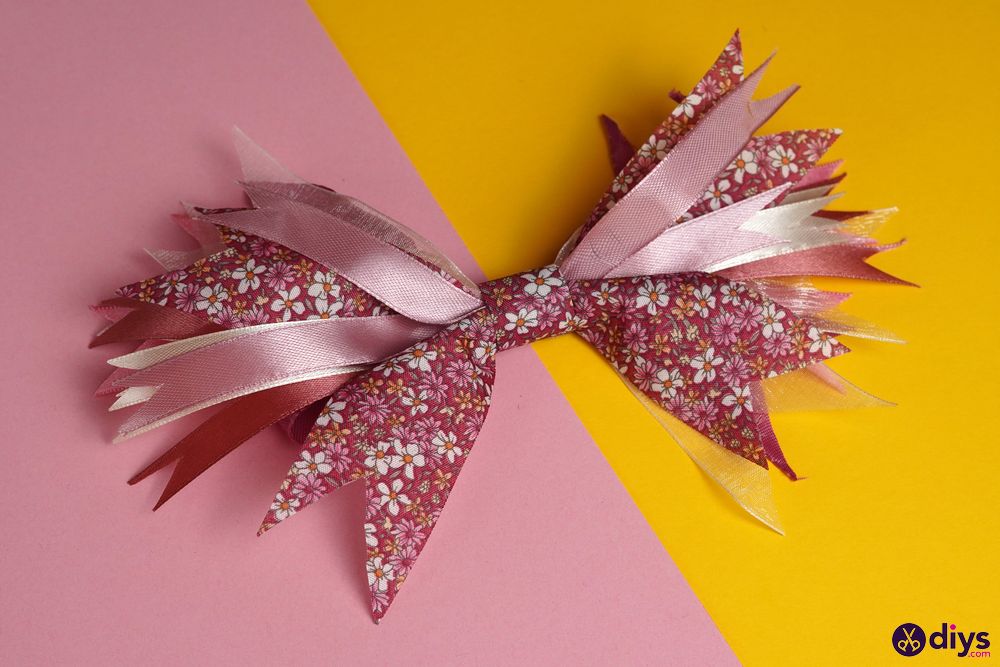
This guide includes easy tips and step-by-step instructions with pictures to help you create beautiful and elegant ribbon bows that will add the perfect finishing touch to your wreaths or gifts.
Ribbon bow tools and supplies
You will need the following items to work on this DIY bow project:
- Silk ribbons of different sizes and colors: We used six types of ribbons of varying widths and a shared pink hue. Depending on your preferences, you can use black and white ribbons for a monochromatic look or a rainbow of colors for a joyful appearance.
- Scissors: Since ribbons are sold in rolls, you need scissors to cut them to the desired length. Common scissors work fine, but a pair of tailor’s scissors helps you achieve a cleaner cut.
- Hot glue gun and glue sticks: A hot glue gun with glue sticks is necessary for attaching the ribbon loops. To use a glue gun, you have to insert a glue stick into the gun, wait for the gun to heat up, hold the gun nozzle to the back of the ribbon, and gently squeeze the trigger to apply glue.
- Needle and thread: A needle and thread are necessary for sewing the six types of ribbon at the center to create the shape of the bow.
How do I make a simple ribbon bow?
To make a simple ribbon bow, check out these step-by-step instructions:
- Start by measuring and cutting two pieces of each ribbon type. The length of each piece depends on the desired size of the bow. If you’re unsure, we suggest cutting each piece to 10 in (25 cm).
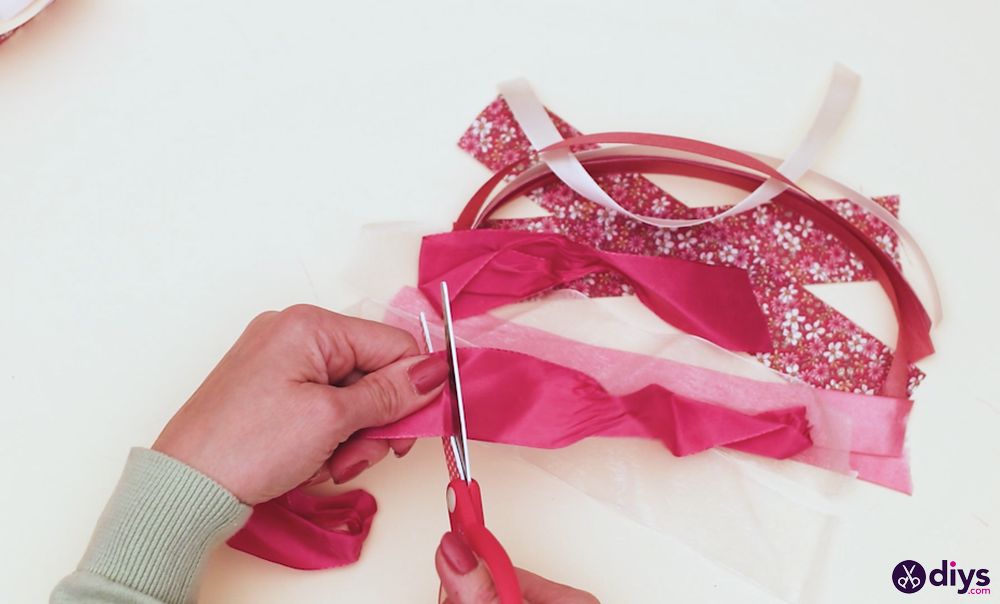
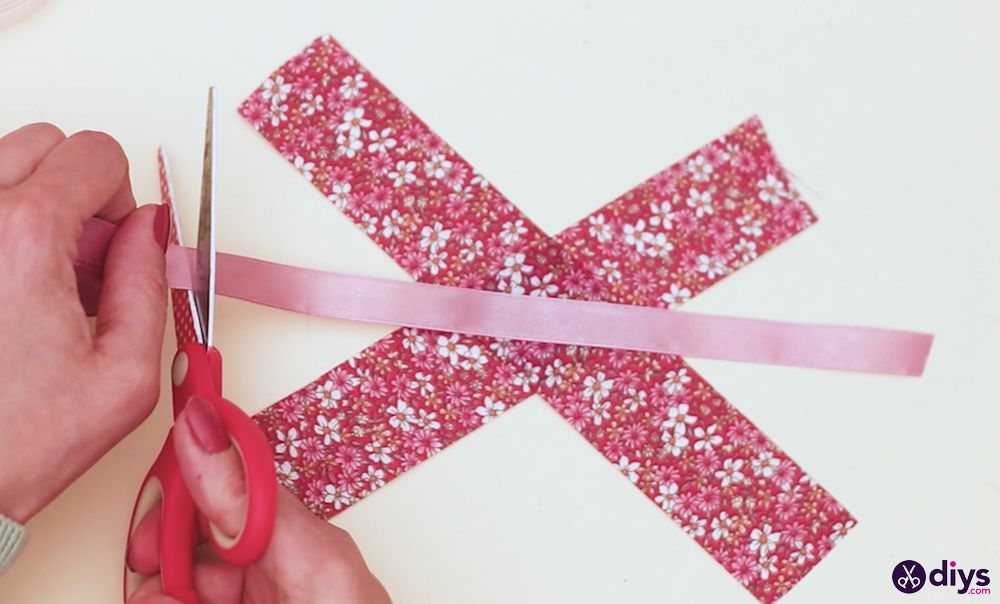
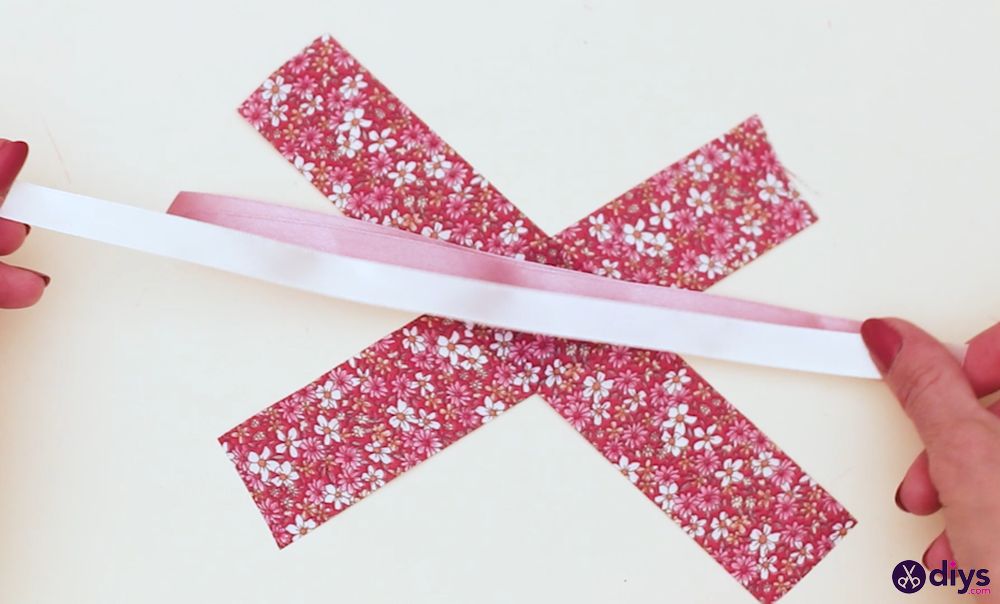
- Layer the two pieces of each ribbon type on top of each other to form an X shape, taking care to place each pair of ribbons at a slightly different angle.
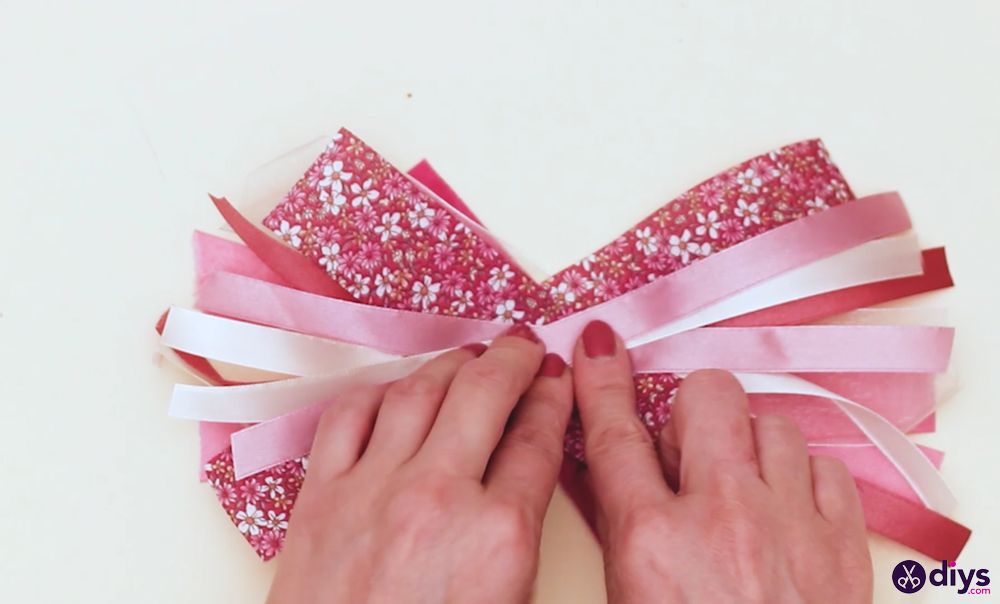
- Cut a bit of thread and tie it around the X’s center, ensuring that all twelve ribbon tails are even.
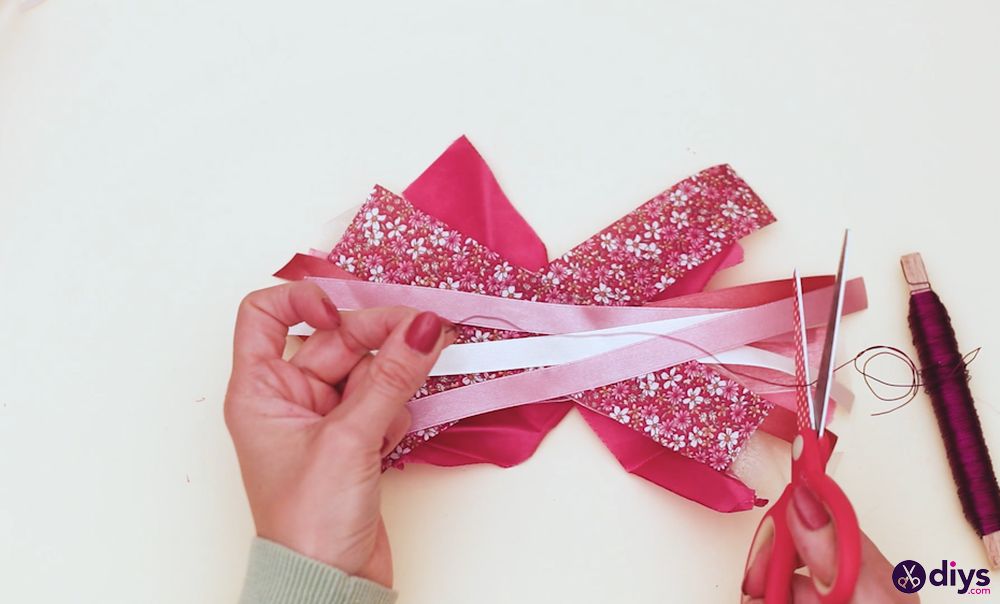
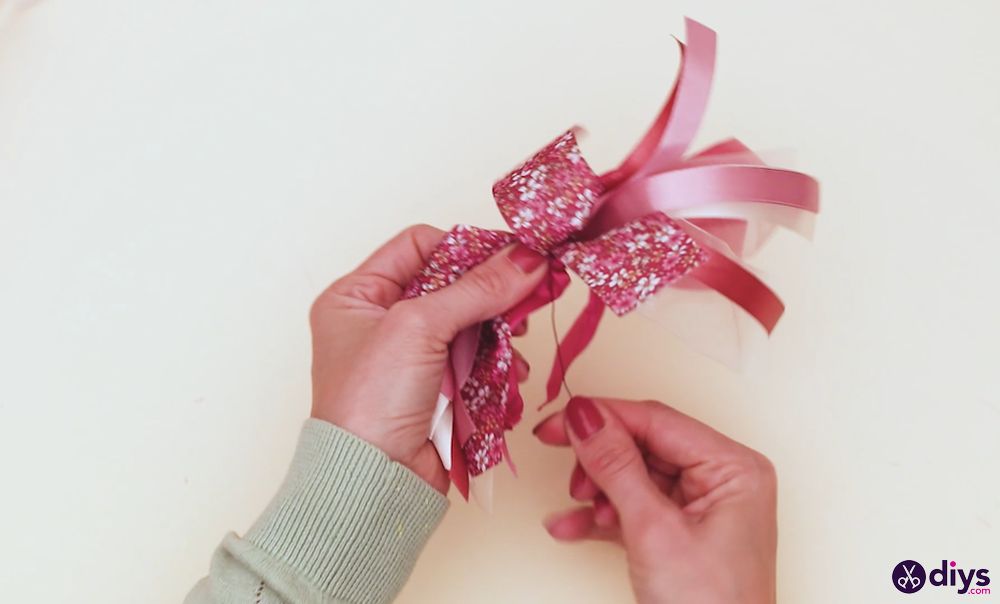
- Tighten the thread until you form the bow shape you want, and cut off any excess thread.
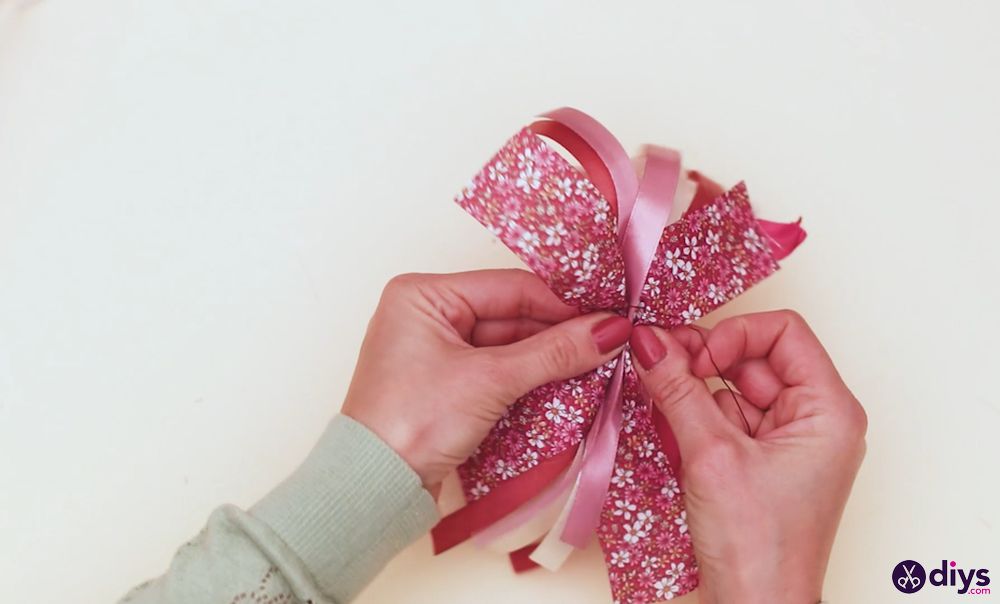
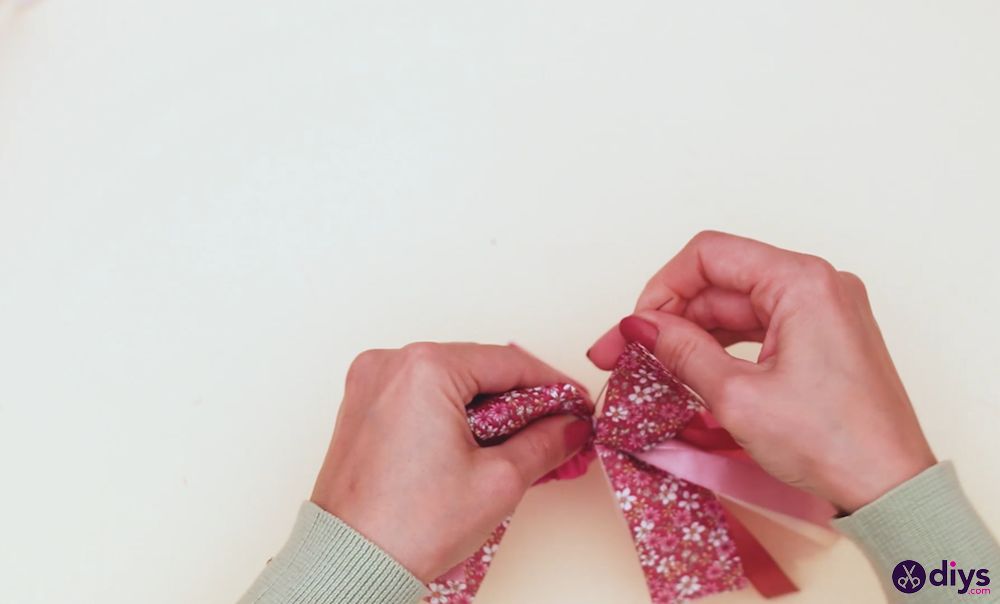
- Now it’s time to trim the ends of the ribbon to get the signature sparrow-tail look. To do this, make a small cut on each ribbon end at an angle; the smaller the cut, the sharper the sparrow tail will be.
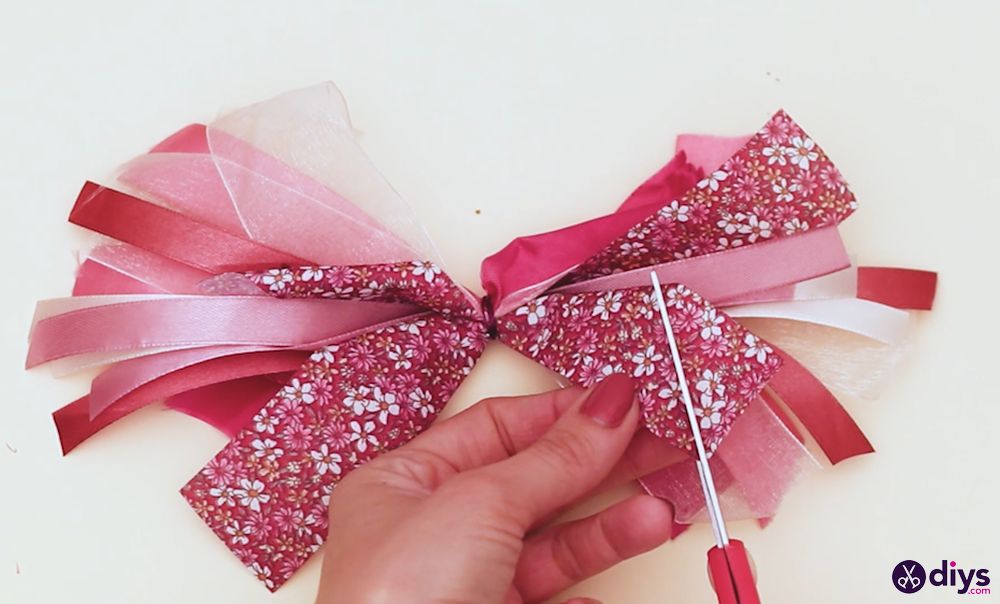
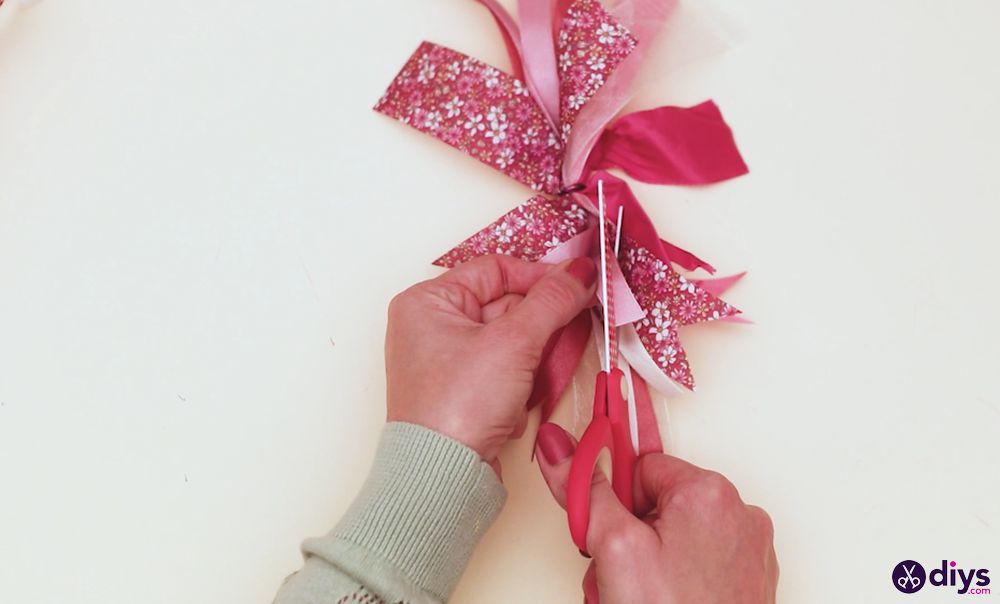
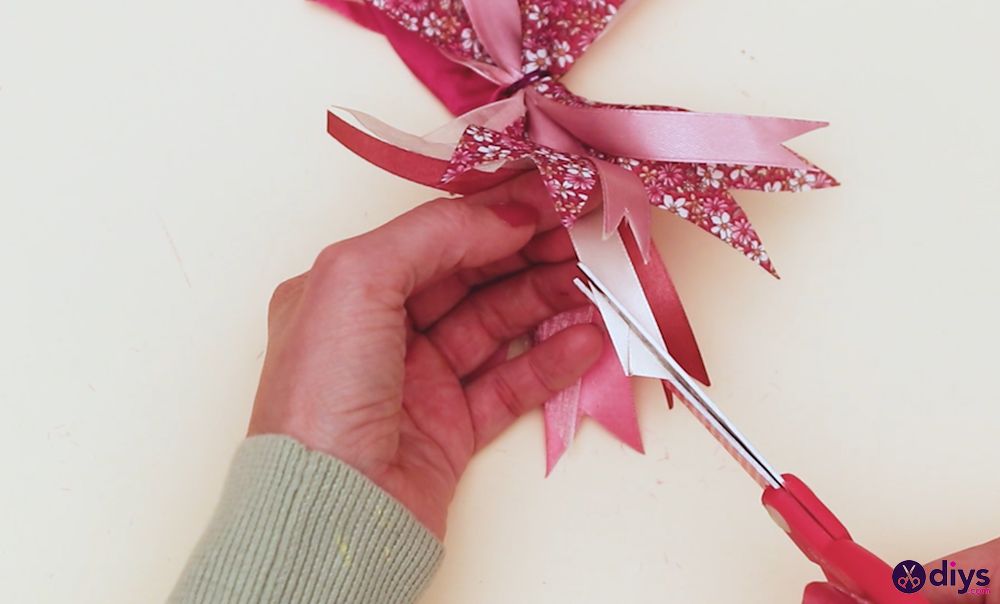
- Now that the bow is shaping up, you must hide the center knot by creating a loop to cover it.
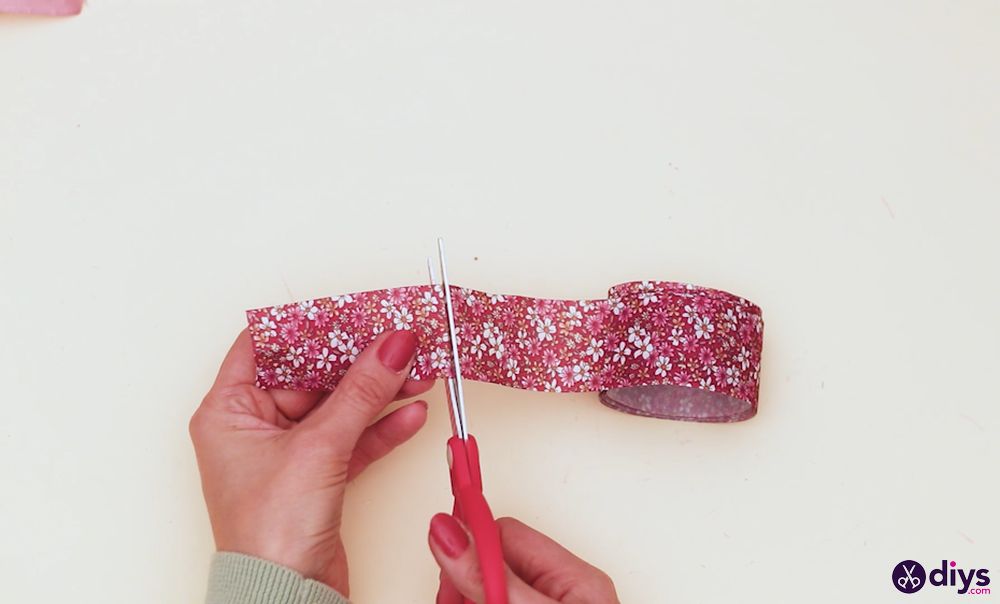
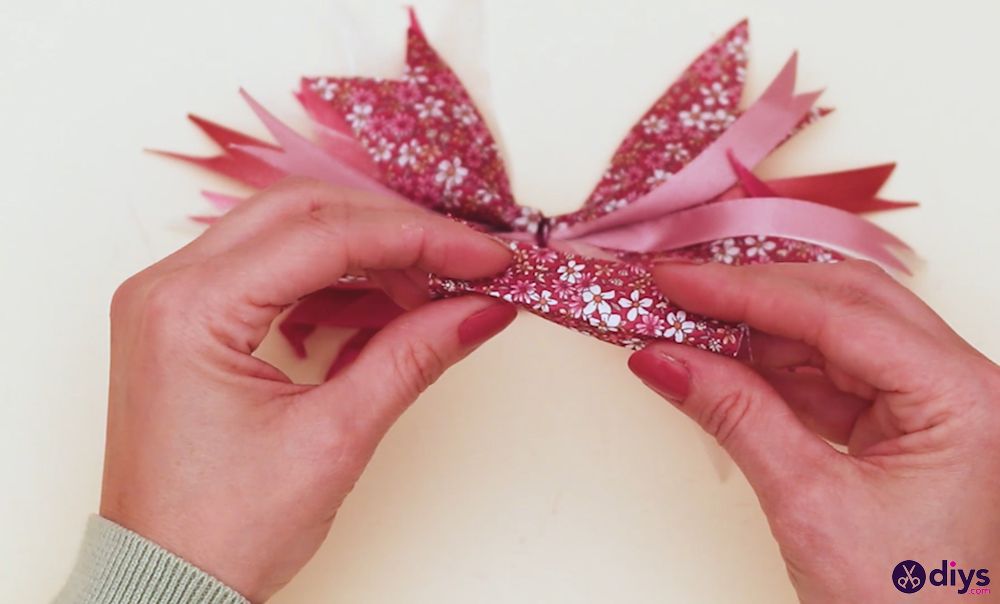
- Cut a bit of ribbon about 3 in (8 cm) long and wrap it around the center of the bow, tucking the ends underneath.
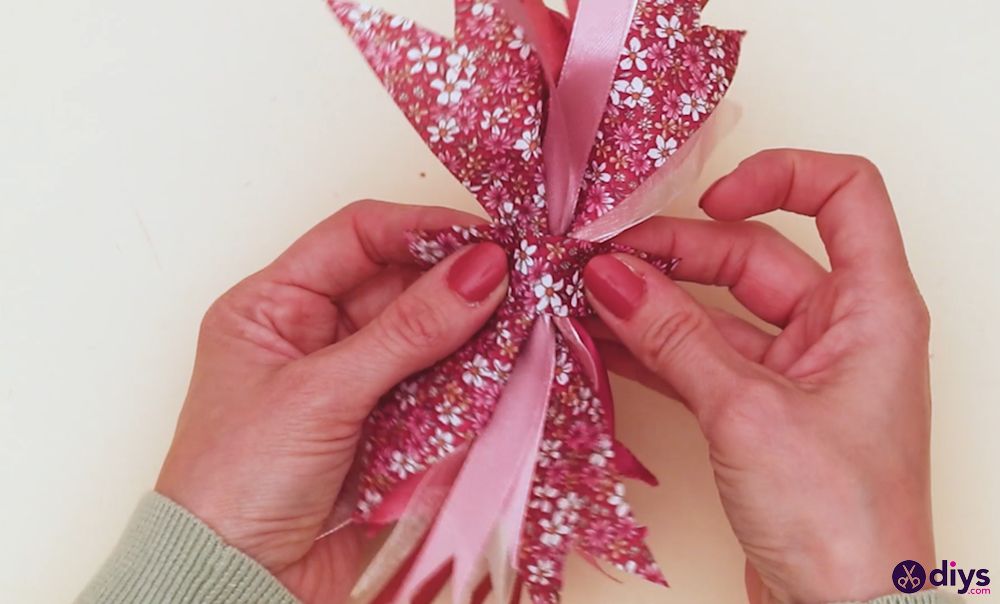
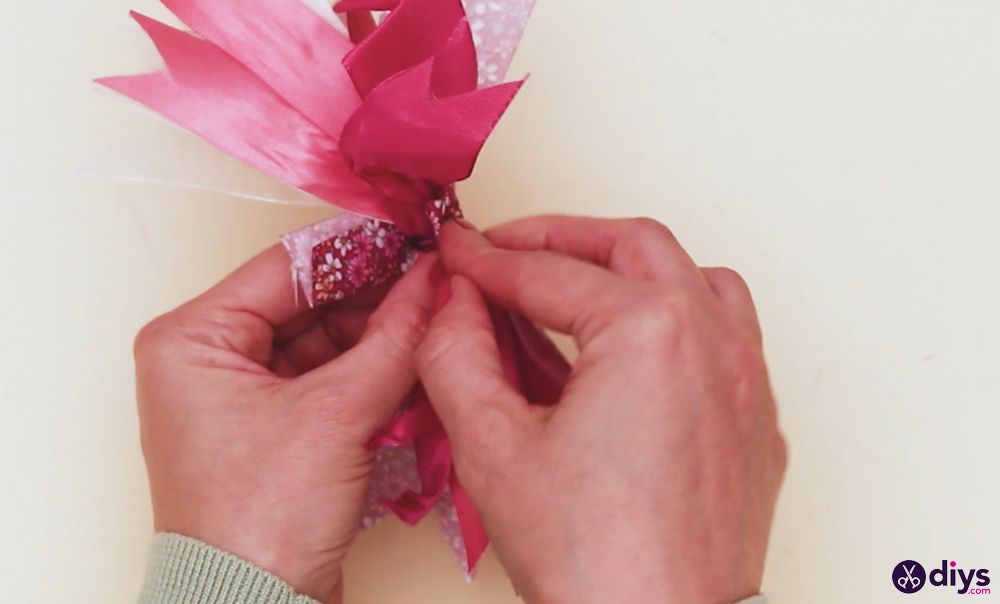
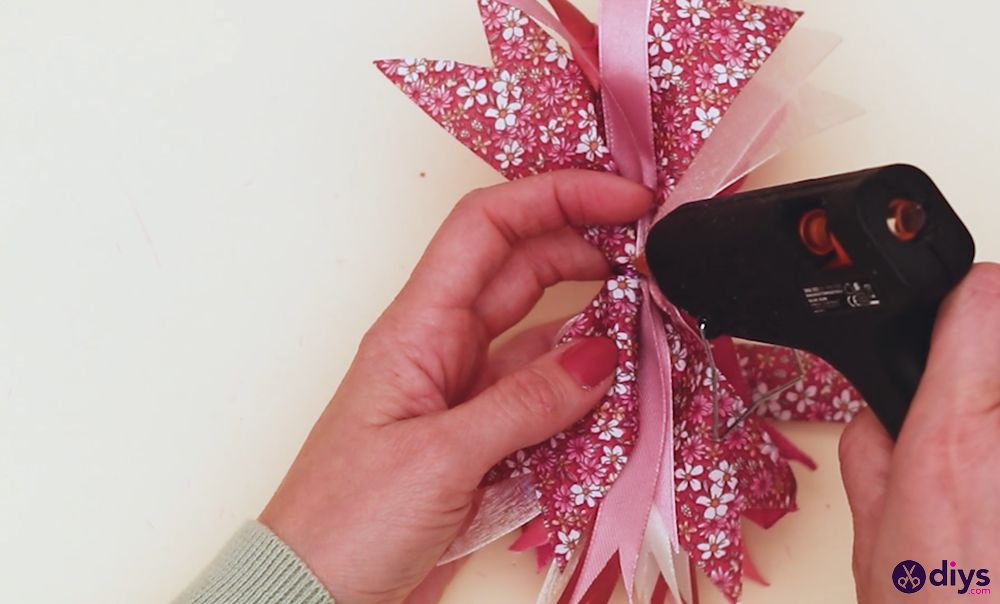
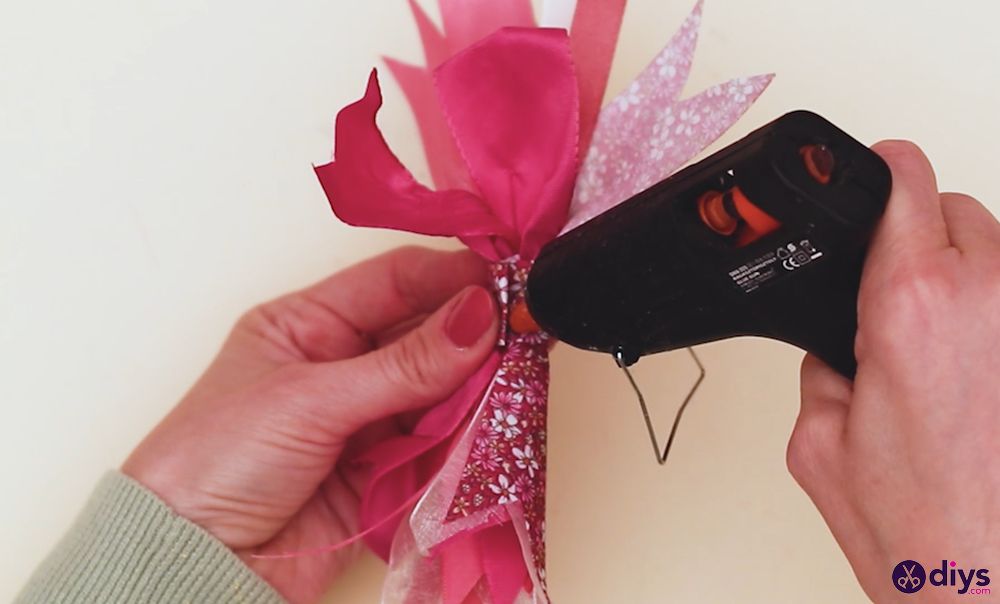
- Secure the loop in place by applying a bit of hot glue on the underside. And that’s it! Your ribbon bow is now ready.
Why should I learn how to make bows?
A homemade bow has numerous advantages, such as:
- Control over the materials used: When it comes to homemade bows, you can pick the ribbon type, color, and size, in order to match the bow to the gift wrap or wreath.
- Save money: A 10-yard roll of ribbon costs about $5 and can be used to make dozens of bows. So a DIY ribbon bow is more cost-effective than a store-bought ribbon bow.
- Create meaningful gifts: Gifts with a hand-tied bow always carry more weight than store-bought bows. Tying a bow requires time and effort, making the gift seem more personal.
- It’s therapeutic: There’s something strangely comforting about tying a simple bow, ideal for relieving stress and taking a break from work.
- Wear a tux and make your own bow tie: Learning how to make a ribbon bow for wreaths or presents helps to practice tying a bow tie for wearing a tux since the bow-tying principle is similar between the two.
- Teach kids a new craft: If you’re looking for a new arts and crafts project to share with your children, making ribbon bows is an excellent idea.
- Start a small business: If you master making various types of bows, you can start a small business to create and sell unique bows.
What other materials can I use to make bows?
In addition to ribbon, you can use the following materials to make bows:
- Fabric: You can use any fabric to make a bow, from silk to denim.
- Yarn: Making a yarn bow is colorful and fun, especially if you’re interested in a more durable material.
- Paper: A paper bow is delicate and great for practicing your bow-making skills. You just need construction paper and tape or glue. It’s also possible to make an origami bow, which doesn’t need anything other than paper.
Closing thoughts
The guide above covers the basics of how to make a bow out of ribbon. However, there are many different ways to personalize your bows and make them unique. For example, you can try different colors and materials, or add beads or sequins to give your bows a bit of extra flair. The possibilities are endless!
Bows come in various shapes and sizes, depending on your materials, color palette, and knots. So, if you feel like experimenting for a bit after creating this bow, check out these DIY bow ideas.
The post How to Make a Ribbon Bow in 8 Easy Steps appeared first on DIYs.com.
Did you miss our previous article...
https://rsssuperfeeds.com/life-hacks/8-kitchen-design-ideas


