Even as wireless technology rapidly advances, we’ll still need safe and dependable wiring systems in our homes for the foreseeable future, supplying power for appliances, equipment, heating, cooling and much more.
If the wiring in your home is outdated, maybe it’s time to rewire your home — or at least certain areas. Even if you’re wisely leaving this challenge to a licensed electrical contractor, you can certainly be involved. The project might only take a day or two or up to a couple of weeks, depending on when your home was built.
Read on to learn about era-specific challenges when rewiring a house and what to expect.
Rewiring a House Built in the 1990s to Present

If your home was built in this time period, you should be in pretty good shape.
You probably have 100-ampere, 200-ampere or maybe even 400-ampere electrical service. You have plenty of branch circuits for general-purpose lighting and receptacle outlets; 20-ampere circuits in the kitchen; and dedicated circuits for the bathrooms, laundry, garage, major appliances, heating, cooling and more.
You’ll have wall switch-controlled lighting in habitable spaces, stairways, basements and other locations. And you should have plenty of receptacle outlets in every room — though it seems we can always use more!
Options to update a home from this period:
- Install additional circuits and receptacle outlets for home offices or entertainment spaces.
- Install whole-house surge protection to protect expensive electronics.
- Replace standard duplex receptacles with tamper-resistant ones, especially if you have young children.
- Install arc-fault circuit-interrupter (AFCI) and ground-fault circuit-interrupter (GFCI) technology for advanced fire and life safety protection.
- Update incandescent or fluorescent lighting-specific fixtures with modern LED lighting. Pro tip: Check into LED recessed can lighting retrofit kits, installed from below the ceiling — no need to tear the ceiling open!
- Install electric-vehicle charging equipment.
- Make corrections to any unpermitted and/or uninspected wiring improperly installed by previous owners.
Rewiring a House Built in the 1970s Through 1980s

If your home was built in this time period, it shouldn’t need complete rewiring. Homes built during this time most likely have 100-ampere or 200-ampere service panels with circuit breakers; dedicated circuits for the kitchen and laundry; and GFCI protection on receptacles installed indoors and out. You’ll find the latter in garages and bathrooms, near kitchen sinks, and for hot tubs and hydromassage bathtubs.
There is one key consideration, besides the improvements mentioned in the earlier section: Find out if your home was wired with aluminum cable, rather than the standard copper, nonmetallic-sheathed cable. A licensed electrical contractor can assess this for you.
If it is aluminum, it doesn’t necessarily have to be replaced. The contractor will look for corrosion and loose connections at receptacle outlets, light switches, appliances and more. These create resistance in the wire, which produces heat, which presents a fire hazard. Contractors can use several approved devices, connectors and methods to make aluminum connections safe without rewiring.
(For more information on aluminum cable, go to the Consumer Product Safety Commission site and search “aluminum wiring.”)
Rewiring a House Built in the 1950s Through 1960s
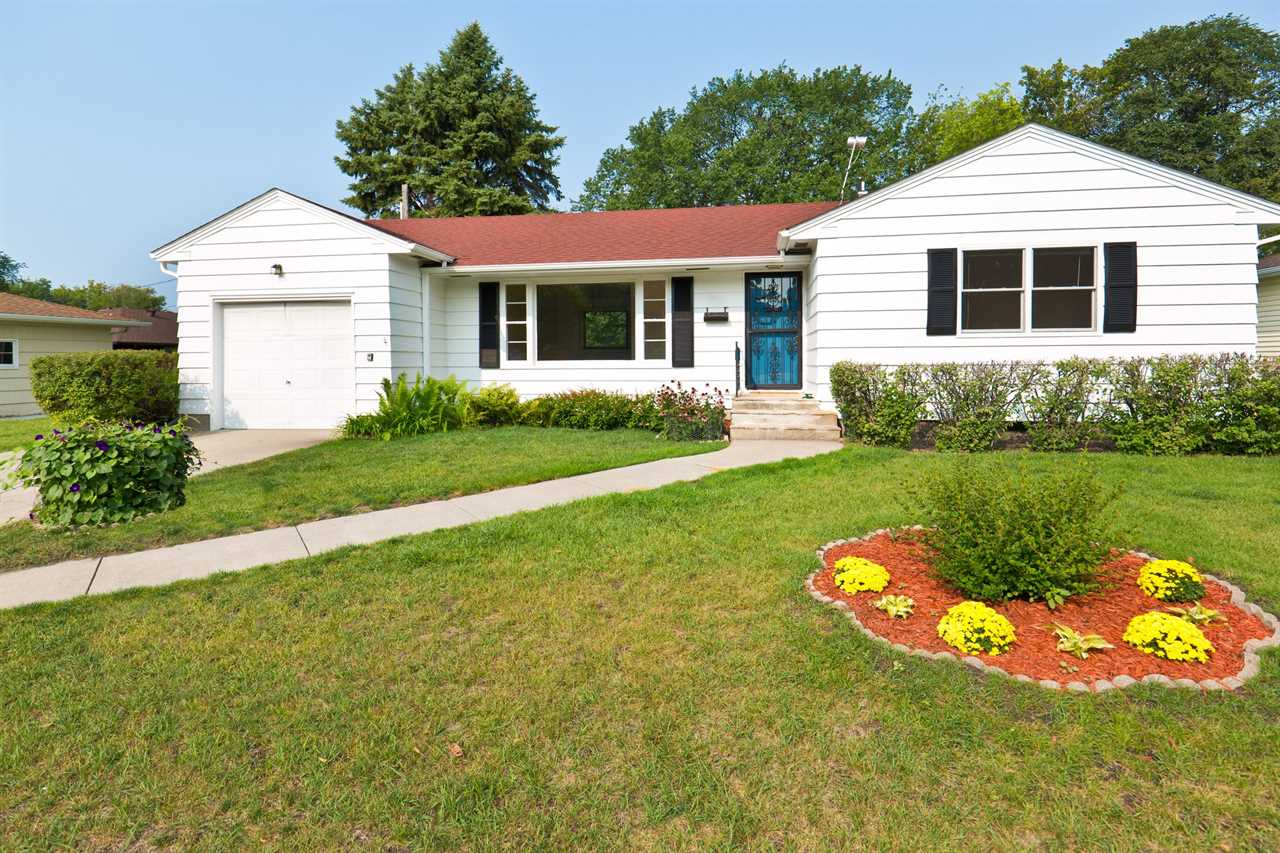
If your home was built in this time period, it has many of the benefits that came with the rapid growth in post-war housing construction.
Nonmetallic-sheathed cable offered improved wire insulation and included a bare equipment grounding conductor. Thermoplastic twist-on wire connectors simplified the splicing of wires in junction boxes. The spacing requirements for receptacle outlets in habitable rooms were standardized and remain pretty much the same today. And three-prong grounding-type receptacle outlets became mandatory.
In addition to what we’ve mentioned in the previous sections, here are a few things you may need to address:
- Upgrade the service panel size: This is a major project best left to a licensed electrical contractor. It typically runs $1,500 or more and requires close coordination with the electric utility. Benefits include replacing outdated, undersized fuse panels with modern circuit breaker panels, and increasing overall panel capacity to install additional branch circuits, as well as AFCI and GFCI circuit breakers for safety. It also adds value to your home and may satisfy requirements mandated by insurance and mortgage companies.
- Replace any two-prong receptacle outlets with properly grounded three-prong receptacle outlets: This will probably mean replacing the boxes in the wall, too. Most are likely too small for modern three-prong duplex receptacle outlets, GFCI or AFCI devices and modern lighting controls and dimmer switches.
- Add branch circuits to comply with today’s code: There was a time when the old 60-amp fuse panel only had three to five general-purpose lighting and receptacle circuits for the entire house, and maybe one or two 240-volt circuits for an electric range or water heater. But today’s homes typically need much more than that. The NEC outlines the bare minimum rules only. Today it requires at least two 20-amp small-appliance circuits for the kitchen counter receptacles, at least one 20-amp circuit for laundry receptacles, at least one 20-amp circuit for bathroom receptacles, and at least one 20-amp circuit for garage receptacles. All are dedicated circuits, too, meaning they can’t be used for lighting or additional outlets. So you’ll likely need more general-purpose circuits, too.
Rewiring a House Built in the Early 1900s Through 1940s
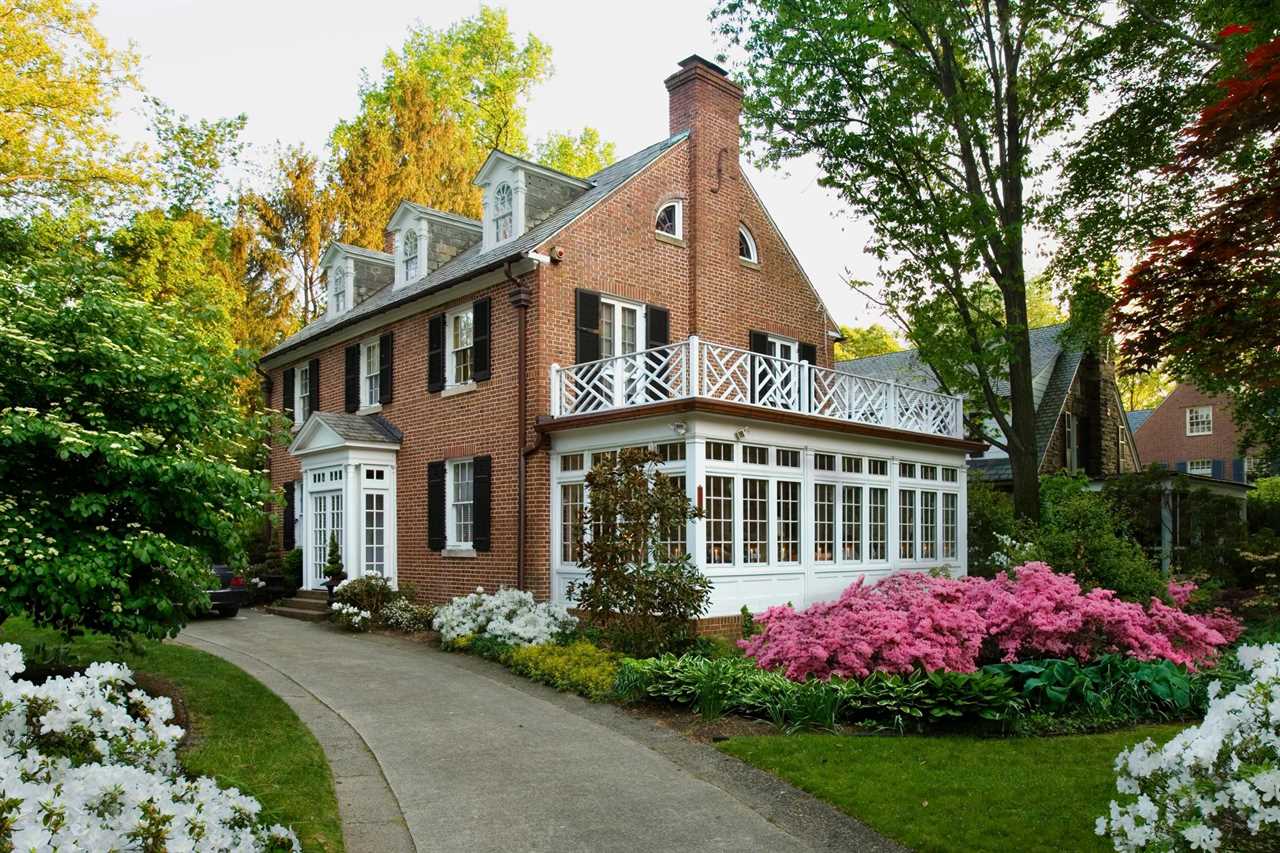
If your home was built during this time period, the list of potential improvements lengthens significantly.
In the early days of home electrification, concealed knob-and-tube was the only wiring method. Individual, insulated wires were installed on or in porcelain knobs, tubes and cleats, inside hollow spaces of walls, ceilings and floors.
Then in the 1930s, cable-type wiring methods were invented. It became standard to enclose insulated wires in an outer metallic or nonmetallic sheath, greatly improving safety and reducing costs. But the energy crisis in the 1970s spawned an effort to insulate old homes. Soon, blown-in insulation filled the hollow spaces where knob-and-tube wiring was never meant to be encapsulated. That can create a fire hazard.
Updating homes from this time period involves much more work and expense. The key things that may need to be done:
- Replace all wiring: Older homes could have a mix of wiring from different eras, as well as several wiring methods. It may not be practical or safe to reuse any of the existing wiring.
- Upgrade the service panel: Older homes may only have 30-ampere or 60-ampere service — certainly not enough capacity to supply all the appliances, equipment and conveniences in a modern home. And it probably uses fuses, which means you can’t take advantage of the latest GFCI and AFCI circuit breaker technologies for maximum safety.
- Add receptacle outlets and lighting: Many rooms in older homes may only have one or two receptacle outlets or none at all. And lighting is often sparse.
Did you miss our previous article...
https://rsssuperfeeds.com/life-hacks/8-basement-ceiling-ideas


