A bathroom vanity is probably something you never considered making yourself. Allow me to help you change that perspective.
As I approached this project for a DIY bathroom vanity, I purposely designed it with clean lines and simple joints. Ultimately, I wanted a vanity that would fit well in any bathroom and compliment any style. And it’s really not that difficult to build. The hardest part will be reading a tape measure for exacting measurements.
This vanity strategically hides all hardware so the whole thing looks like it’s floating. Follow my step-by-step instructions and insider tips so you can build this DIY bathroom vanity with confidence.
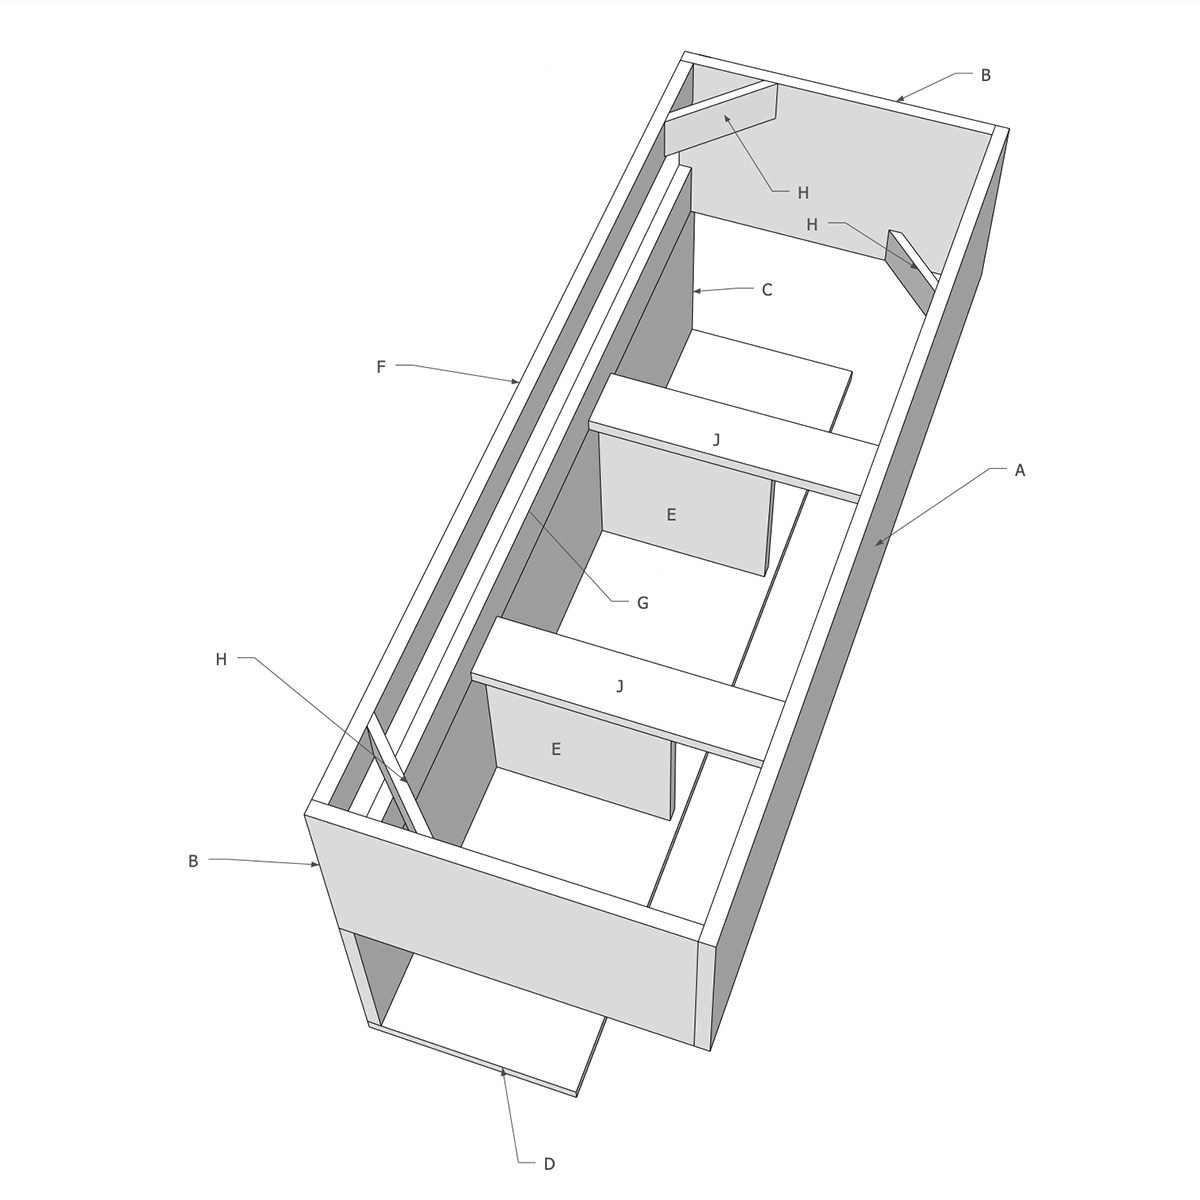
Project Overview

Cutting List
| KEY | QTY. | PART | DIMENSIONS |
| A | 1 | Front face | 3/4″ x 11-1/4″ x 49″ |
| B | 2 | Sides | 3/4″ x 11-1/4″ x 17-1/4″ |
| C | 1 | Back | 3/4″ x 11-1/4″ x 47-1/2″ |
| D | 1 | Shelf | 3/4″ x 11-1/4″ x 47-1/2″ |
| E | 2 | Shelf divider | 3/4″ x 11-1/4″ x 10″ |
| F | 2 | Cleats | 3/4″ x 3-1/2″ x 47-1/2″* |
| G | 1 | Cleat support | 3/4″ x 3-1/2″ x 47-1/2 “ |
| H | 4 | Gussets | 3/4″ x 2-1/2″ x 6″** |
| J | 2 | Divider support | 3/4″ x 3-1/2″ x 10-1/2 “ |
Overall dimensions: 49-in. W by 23-1/4-in. T by 18-in. D.
* – One long edge ripped at a 45-degree angle.
** – Cut both ends at a 45-degree angle.
Cut wood for top portion of vanity
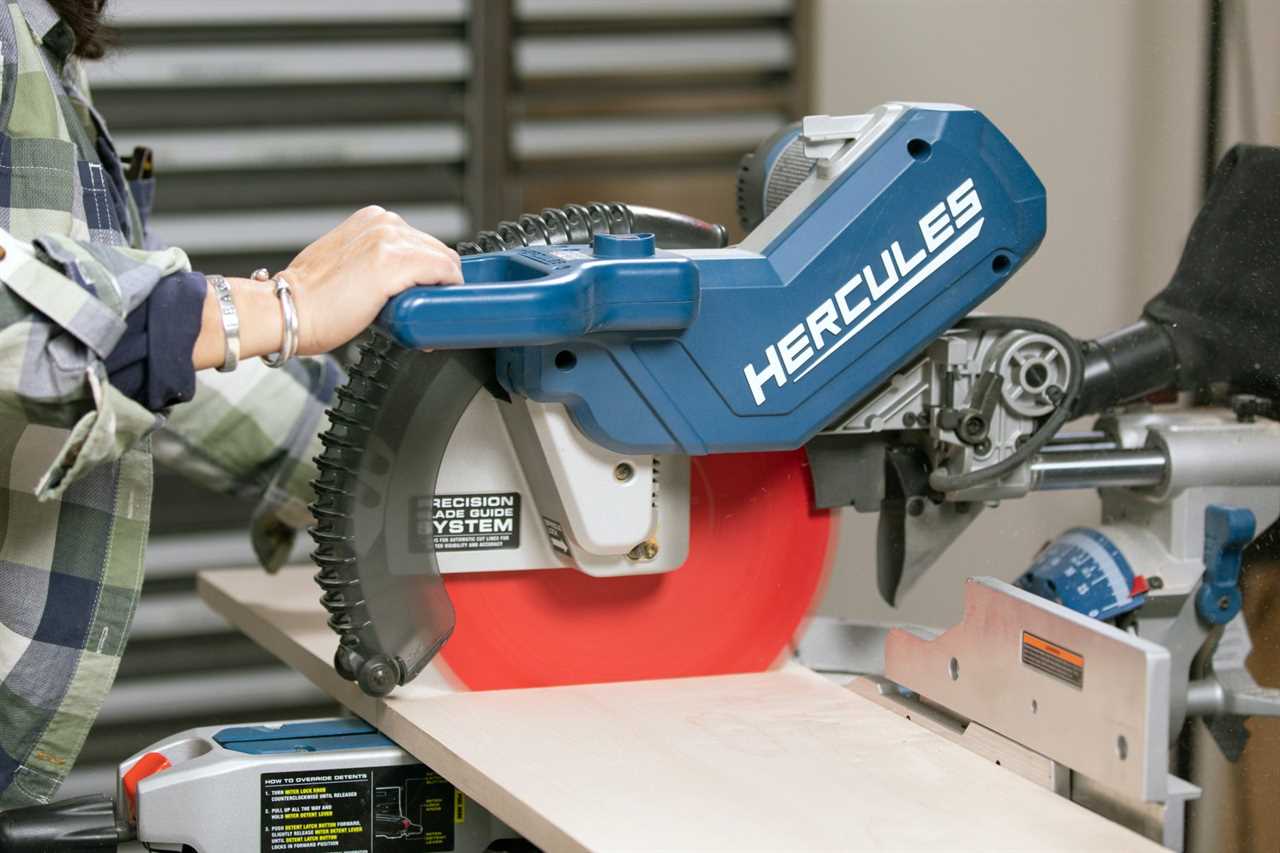
Using a miter saw or circular, cut wood for the front face (A) and two side panels (B) for the upper part of the vanity. Refer to the Cutting List above.

Did you miss our previous article...
https://rsssuperfeeds.com/life-hacks/i-wanted-my-bedroom-to-feel-like-a-5star-hotel-so-i-tried-cariloha-sheets


