Whether you have a new nursery plant or an old one in an overgrown container, repotting is a big part of being a plant parent. Learning when and how to repot ensures new plants start in the right environment and old plants continue to grow.
Here’s what you need to know about when to repot houseplants, how to choose a new container and how to move the plant from one to the other.
When To Repot a Houseplant
You won’t have to repot houseplants often — once a year at the most. The frequency depends on the plant’s species, age and growth rate.
“For instance, fast-growing species (Begonia, Epipremnum, Tradescantia) should be repotted every year,” says Julia Omelchenko, a resident botanist expert for the NatureID app. “And slow-growing ones (Aloe, some species of cacti, Ficus) need to be moved to a new pot once every two to three years.”
Younger plants grow more rapidly and will need more frequent repotting. Mature plants, on the other hand, may be perfectly happy in the same pot for four years.
Spring is ideal for repotting a houseplant. Plants often go dormant in the winter and begin growing again as daylight hours increase in the spring. Repotting gives them the room they need to grow. But that doesn’t mean you have to wait for spring. If a plant is showing signs of stress or poor health, go ahead and repot any time of year.
Try to repot in the evening if possible. “At night, in the absence of bright sunlight, the plant’s metabolism slows down, so it has a chance to recover from repotting stress,” Omelchenko says.
How to tell when it’s time to repot a plant
You don’t have to follow a strict repotting schedule. Plants will tell you when they’ve outgrown their container. Chris Satch, Horti’s plant doctor (@botanictonic), says to keep an eye out for these symptoms:
- Plant may stop growing;
- Roots may poke out from the bottom;
- New leaves will grow, but an equal number may drop;
- Plant above ground height is higher than twice the pot’s height.
Other symptoms include small or stunted growth, yellow leaves, roots growing above the surface and poor water retention. Many of these symptoms can also be attributed to pests, disease or dormancy, though. Check the roots if you suspect it might be time to repot.
You might see roots coming out of the drainage hole. That’s a sure sign the plant needs repotting. “But it’s best to repot the plant before that happens,” Omelchenko says. “Otherwise, it’ll be impossible to extract the plant without damaging its roots.”
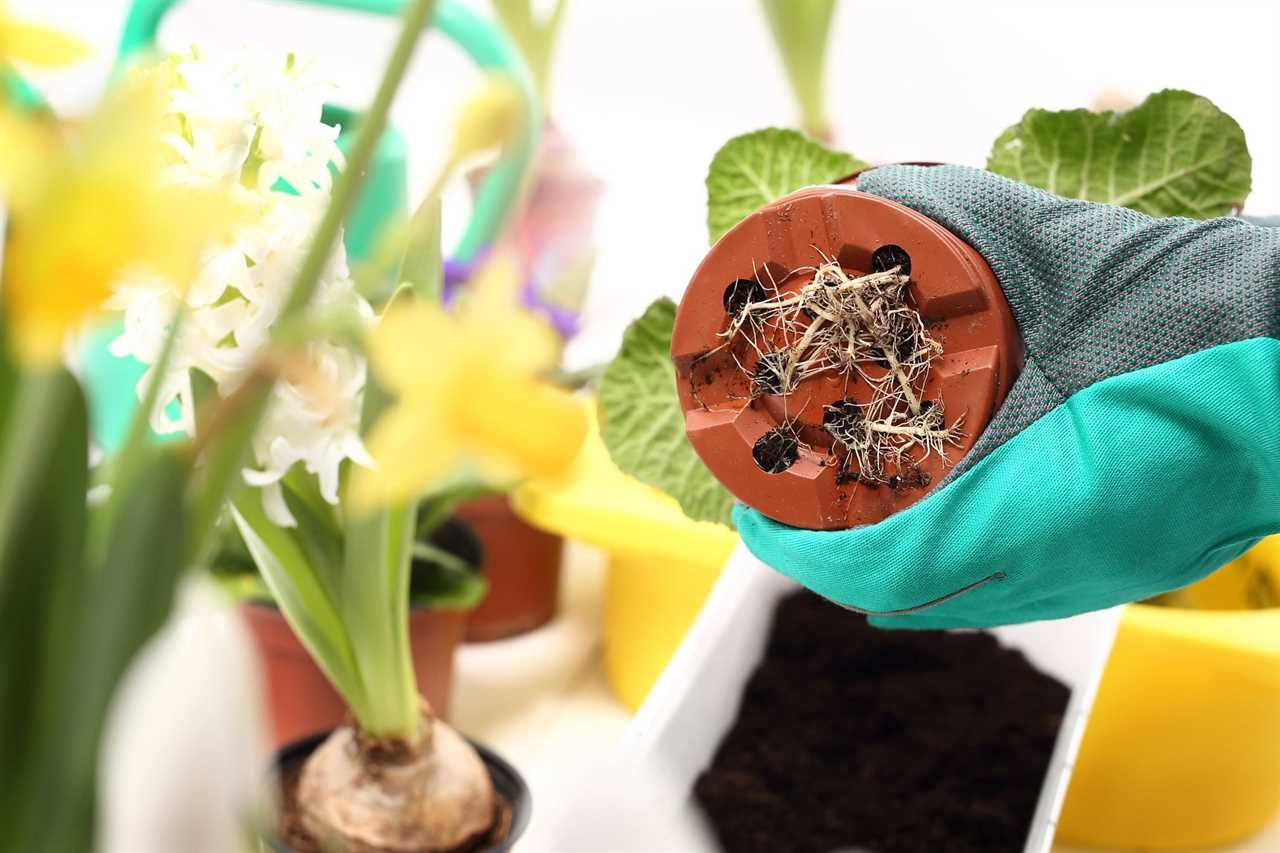
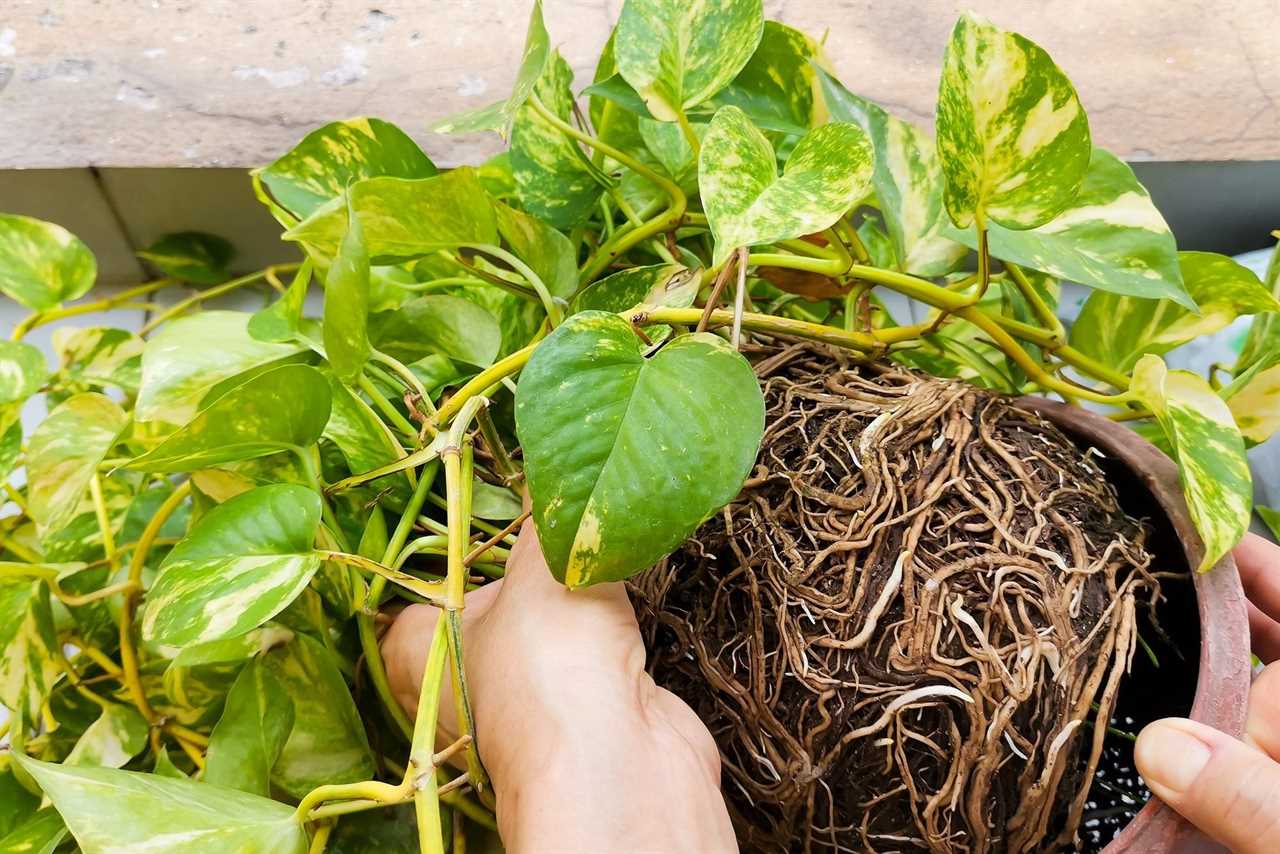
If roots aren’t coming out of the drainage hole, you can still check them. “Carefully remove the plant together with the substrate from the pot,” Omelchenko says. “If you can see the roots but not the soil, then the plant needs to move to a bigger pot.”
This is also a good time to check the health of the roots. They should be light-colored and plump, not dark and crumbly. Rotting roots are a sign of overwatering, but pests or disease can also affect root health.
How To Choose a New Pot
Once you’ve identified the need to repot a plant, it’s time to choose the right pot. Finding the right size, material and design, then filling it with the right soil, are major factors in your plant’s health and growth.
Plant pot size
Jumping up in pot size is not recommended; better to take small steps. Too much extra space means too much empty soil, which means too much water retention, leading to root rot. You want the pot to have just enough free space for the plant to grow, but not so much that the pot is half full of soggy soil.
“Ideally, the new pot should be one to 1.5-inches (three to four centimeters) larger than the previous one,” says Omelchenko. However, for a large or especially fast-growing plant, you could increase by up to four inches. A three- to four-inch increase in diameter is fine for plants in 12-inch diameter pots or larger, according to Satch.
Plant pot features
Drainage is the most important feature to look for in a new pot. Some people put horticultural charcoal or lava rocks at the bottom of pots, but it’s not nearly as effective as a drainage hole.
If you fall in love with a pot without drainage holes, you can still use it, but don’t plant directly into it. Instead, use it as a cache pot and plant into a plastic nursery pot, then set the plant into the cache pot.
Using a cache pot has a few bonuses. First, it’s easier to switch out pots as your home décor style evolves. Second, it’s easier to remove plants and repot them from softer plastic containers. Third, plastic pots with plenty of drainage holes are good for plants that prefer bottom watering.
In addition to drainage, the material of the pot matters. “If you water frequently, or the plant likes to be dry, opt for terra-cotta,” says Satch. “Otherwise, glazed ceramic or plastic/fiberglass is fine.”
Metal pots aren’t recommended for cold climates. “Metal cools down fast, so even the slightest draft coupled with excessive watering can lead to the overcooling of the root system,” Omelchenko says.
Most indoor pots are shaped about the same, though some may be tall and narrow or shallow and wide. Research how your plant grows before choosing a pot. Succulents with their shallow roots and can thrive in shallower containers, like this wood log planter. Plants with deep roots, like an indoor lemon tree, prefer a deep container. And trailing plants like wide containers. You might even want to hang your plant.
How To Repot a Houseplant
Repotting a plant is quick and easy. The most difficult part is often getting the plant out of its old pot. It’s a delicate process and takes a gentle hand to avoid damaging the plant.
Prepare the new container
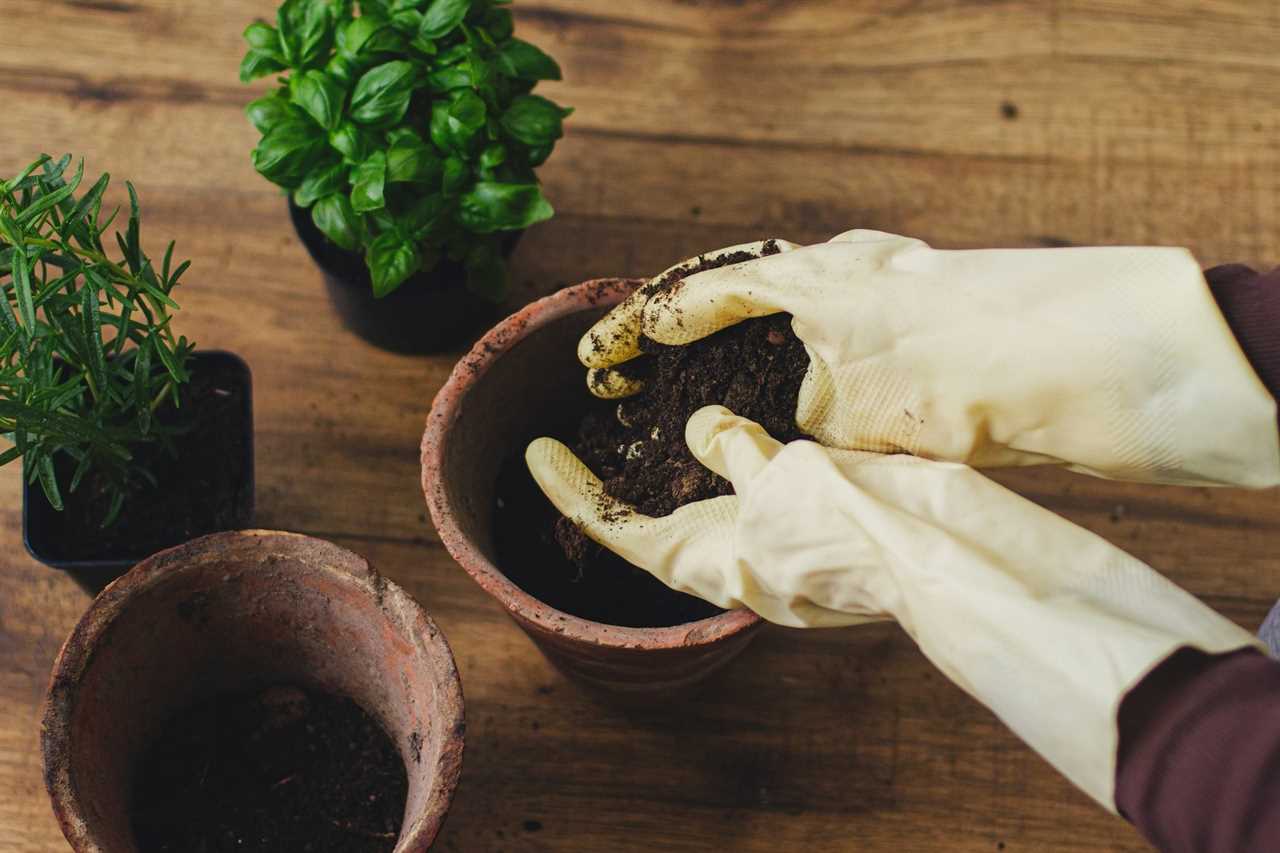
Start by preparing the new container. Research the type of potting soil that is best for your specific plant, and add some to the bottom of the container. A potting mat is helpful for containing the mess when mixing soil and repotting plants.
Remove the plant from the old container
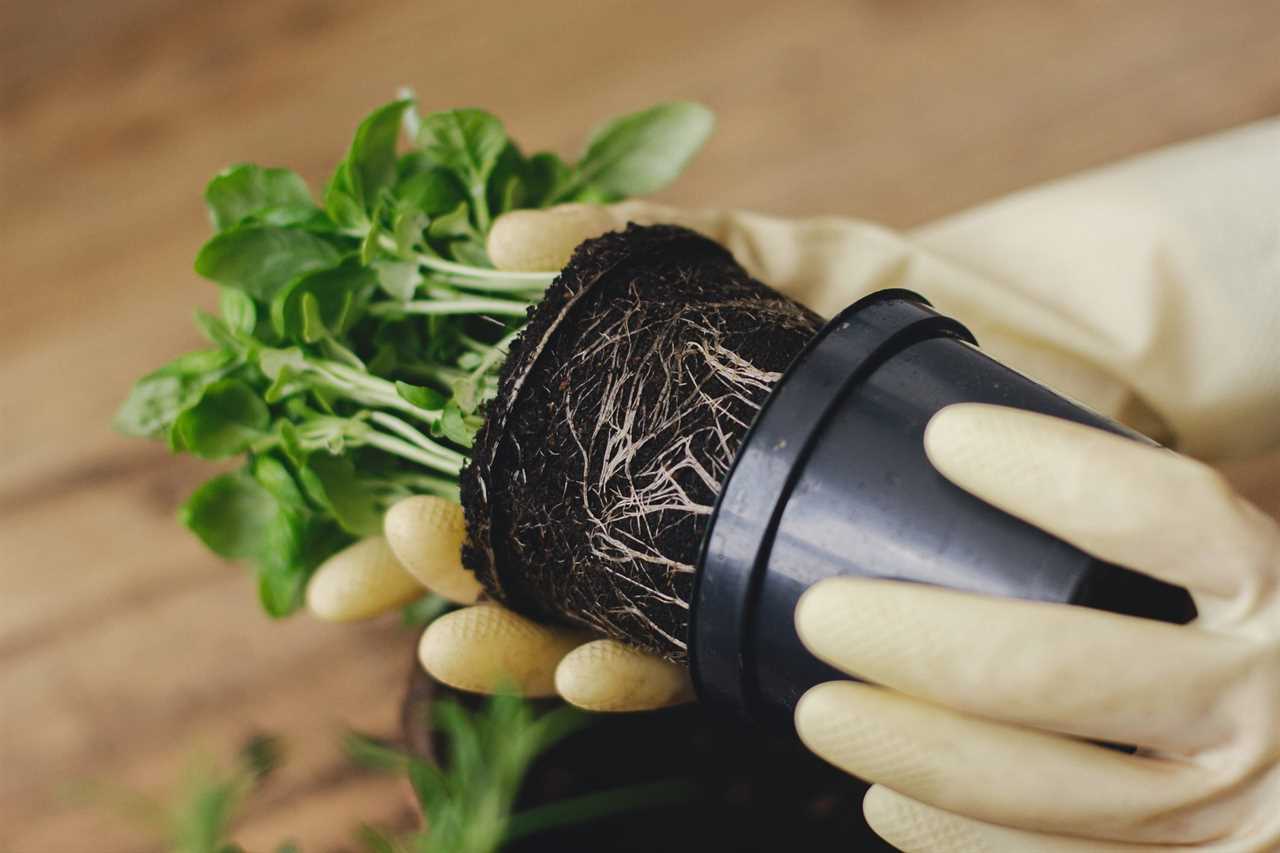
Removing a plant from a plastic nursery container is easiest. Simply place a hand over the soil around the base of the plant and flip the container sideways into that hand. The plant will often slide right out. If it doesn’t come out with a gentle wiggle of the base, try squeezing the sides of the container. If it’s still stuck, use a chopstick to loosen the soil, or cut off the plastic container.
Removing a plant from a ceramic pot is more difficult since you can’t squeeze the sides of the pot. Pushing a chopstick around the edge of the container helps to loosen the soil and unstick the plant.
Repot the plant
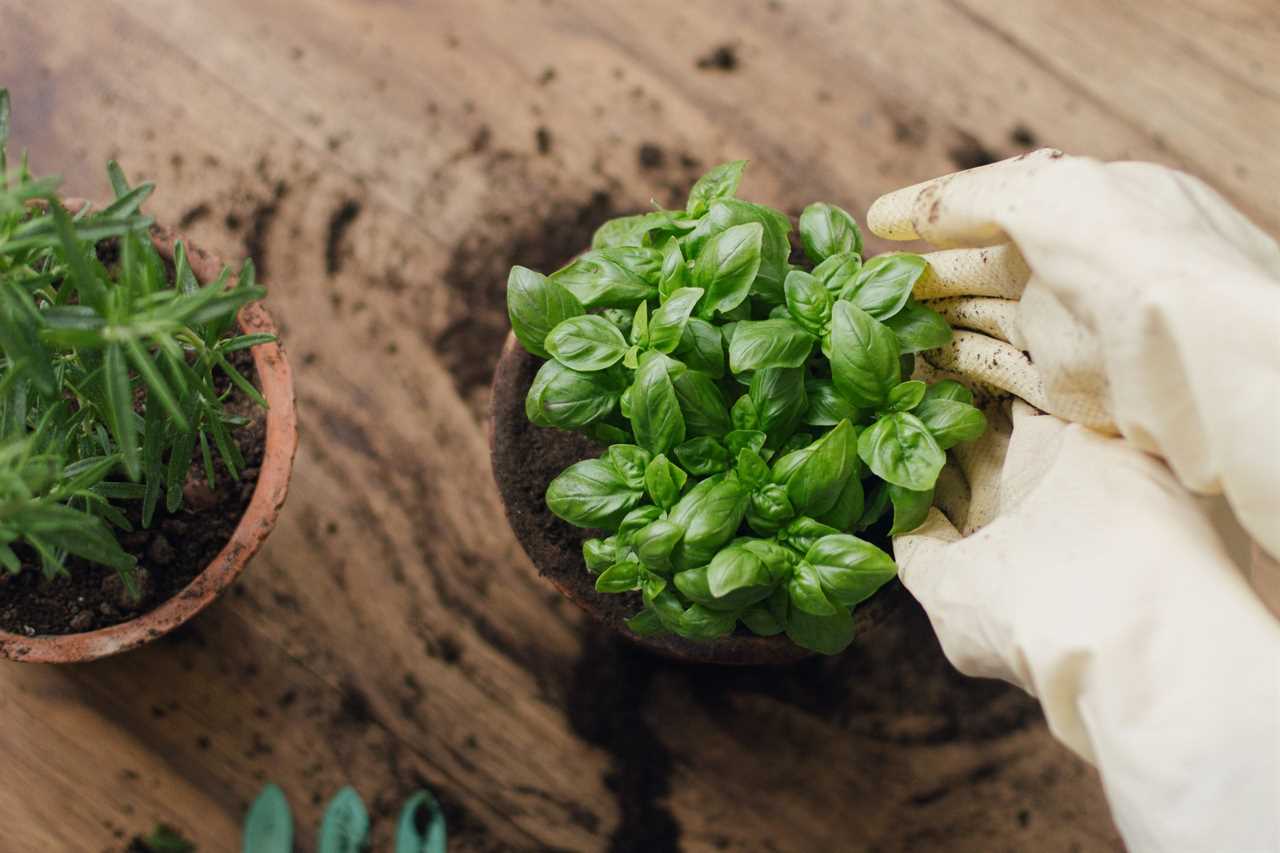
After removing the plant from its old container, massage the bottom of the roots. They’ll be tightly bound from the old, small pot and need to be loosened a little before replanting. This is also the time to brush off excess soil to make room for fresh, nutrient-packed soil.
Place the plant into the new pot. If it seems too deep, take it out and add more soil to the bottom. Then fill in the space around the edges with fresh soil. Be sure to keep the plant centered as you add the new soil. Don’t pack the soil down too much. You want it loose enough for air and water to flow down and reach the roots.
Repotting a plant can cause it to go into shock, so don’t fertilize right away or move it to a new spot. Instead, water lightly and leave it alone to get settled into its new home.
Did you miss our previous article...
https://rsssuperfeeds.com/life-hacks/for-the-family-handyman-dump-your-wheelbarrow

