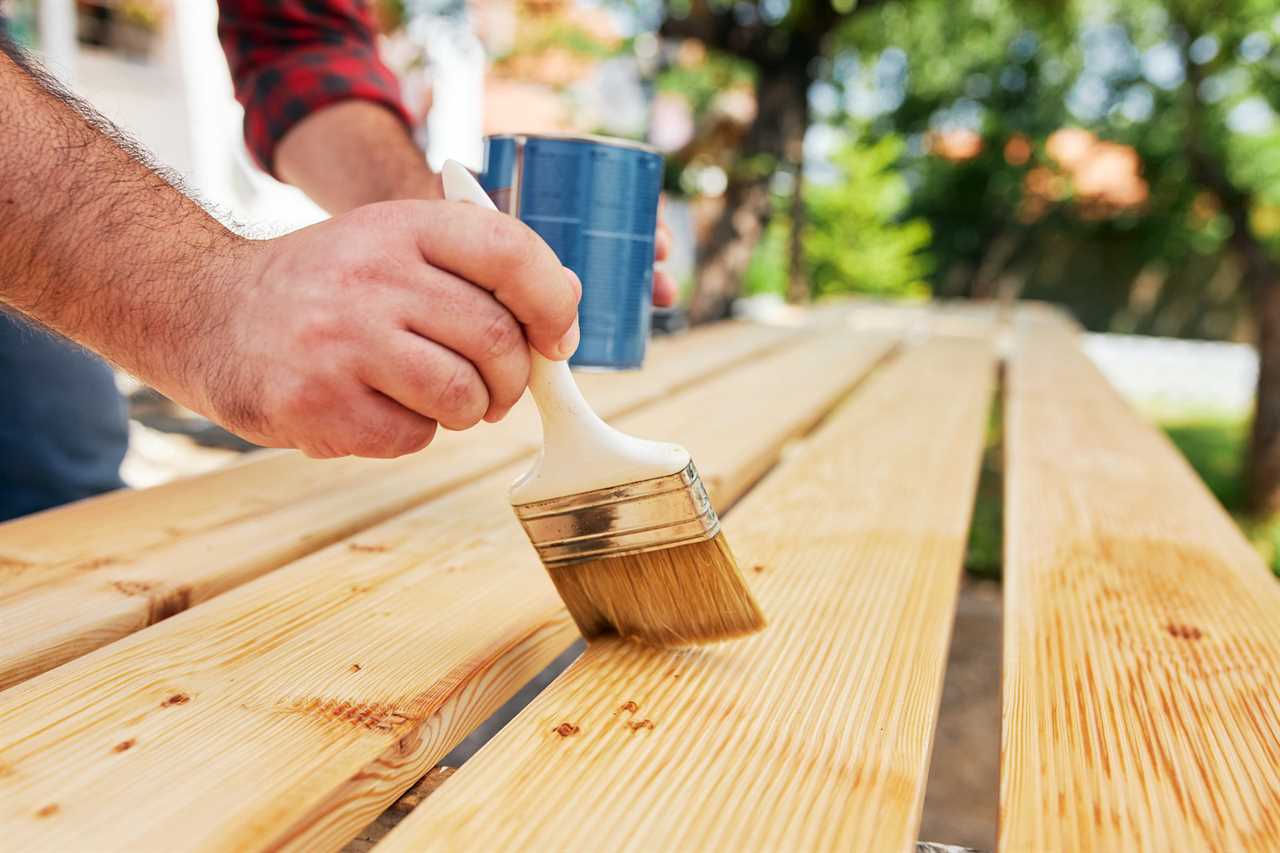
About 10 years ago, I built a beautiful hardwood table as a gift for a family member. Weeks of hard work culminated in one of the finest pieces of furniture I’d ever created, and the recipient was thrilled.
The problem was, I chose maple, which is notoriously difficult to stain, even for seasoned woodworkers. Maple’s unique grain patterns and varying density from one spot to the next leads to blotchy, uneven stain jobs that look terrible. Worse, they’re nearly impossible to fix once they’re applied.
Basswood and pine often present the same problems. That’s why, in all honesty, my first tip about staining maple is simply to choose a different wood especially if you’re a beginner.
But if you have your heart set on working with maple, all is not lost. I’ve learned some tricks over the years that eliminate all stain blotchiness and achieve a beautiful, even appearance. Here are my first-hand tips on wood stains for maple, and how to apply them.
Sand the Wood
Begin all staining jobs by thoroughly sanding your workpiece.
Start with a coarser grit of sandpaper (around 120-grit), then gradually work you way to a finer grit (around 220-grit). Following sanding, make sure you vacuum every surface of your project before breaking out the stain.
Use a Pre-Stain Conditioner
Buy and apply a pre-stain conditioner of the same brand as the stain you’re using. When working with maple, your battle against blotchiness will be won or lost with this step.
Pre-stain conditioner goes on like a stain without color. It chemically changes the wood to even out the absorptiveness of its grain.
Choose a Gel Stain
A gel stain reduces the likelihood of ugly blotches. In my experience, all else being equal, gel stain absorbs more easily and results in a less blotchy appearance. Unless you have your heart set on a particular oil or water-based stain, gel is your best bet.
Use a Test Panel
Save a small scrap piece of the maple you’re working with as a test panel.
Before applying the stain, go through the entire procedure step-by-step on your test panel. With wood finishing, you never know for sure how things will turn out unless you’ve tested your finish on the exact same wood. As a guy who’s ruined more than my share of projects with bad finishes, trust me when I say it’s worth the extra time and effort.
Try Your Own Pre-Stain Treatment

Mix denatured alcohol and wax-free shellac in a 50/50 blend to create your own pre-stain conditioner. Some factory-made conditioners work better than others. If your test panel makes it clear yours isn’t working well to eliminate stain blotches, denatured alcohol and wax-free shellac (aka sanding sealant) will certainly do so.
If you try this mixture on your maple, be sure to brush it on evenly and let it set fully before applying stain. Also, don’t forget to lightly sand with 400-grit paper after application of this mixture before you apply the stain.
Apply Thin Coats
Resist the temptation to apply a single thick coat of stain, even if you want your maple to turn out dark. Instead, apply multiple thin coats until you reach your desired darkness, waiting the manufacturer-recommended amount of time between each coat.
Keep in mind your first coat might be really light, especially after applying pre-stain conditioner. This is normal and definitely doesn’t mean you should make that first coat super thick. Apply gel stain with a foam brush, then wipe off the excess with a clean disposable shop cloth.
Seal After Staining
Choose and apply a urethane or shellac after staining your maple to preserve and improve the even color of your finish.
To be honest, most stained wood looks bad without some sort of topcoat. That’s why I like to encase my stain in three or four coats of polyurethane, lightly sanding with 400-grit paper between coats (but not after the final coat).
Do a Final Buffing
Make your stained maple look its best after urethaning by buffing the urethane to a glassy shine. Use a soft, low abrasive rubbing pad. I like to buy 3M rubbing pads for this purpose.
Hold the pad under the bed of a variable speed random orbit sander set to its slowest spin. Move the sander and rubbing pad slowly over the fully-set urethane until the surface reaches your preferred level of shine.
Did you miss our previous article...
https://rsssuperfeeds.com/life-hacks/10-christmas-coffee-table-decor-ideas


